How to Add a Navigation Bar on the Header in WordPress
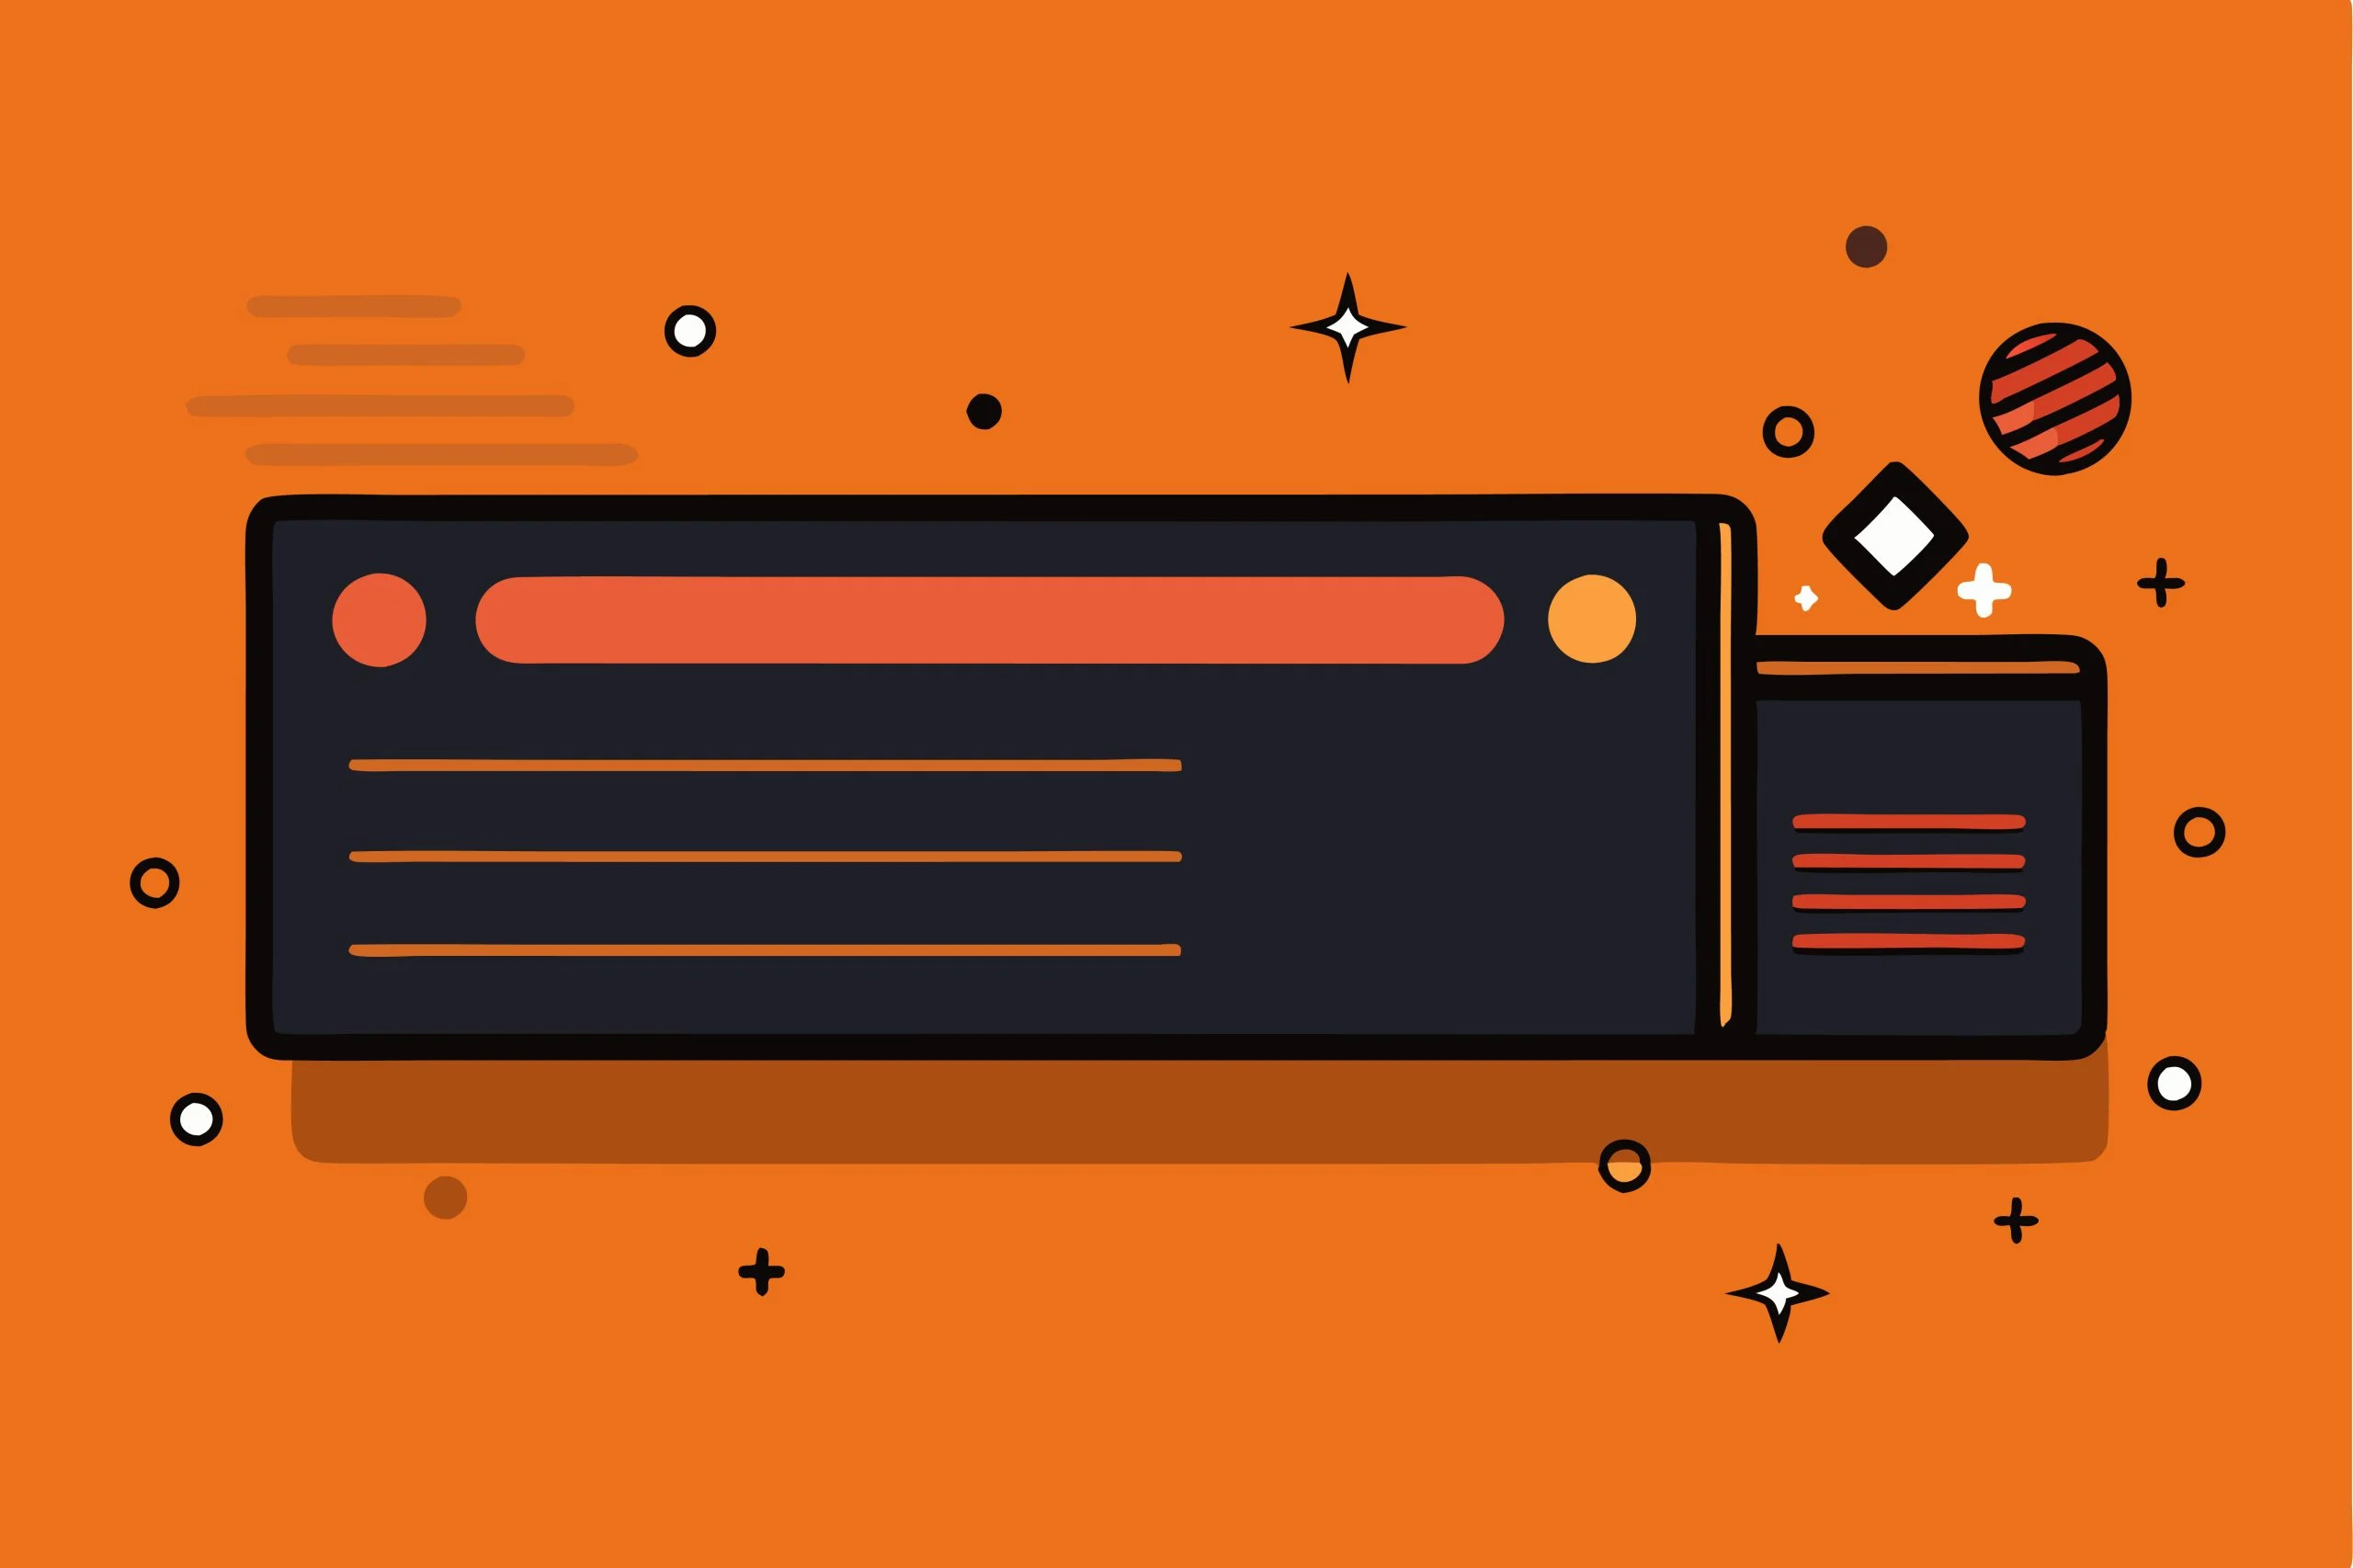
A user-friendly website depends a lot on how well visitors can move through it, and a well-structured navigation bar is one of the most important pieces of that. In WordPress, adding a navigation bar to your header can meaningfully improve usability by helping people find what they’re looking for quickly. Here’s how to set one up the right way.

What is a Navigation Bar?
A navigation bar, or nav bar, is a menu that helps users move through the different sections of your site. It typically sits at the top of the page and links out to key pages, categories, or posts. A well-designed one improves user experience and can help lower bounce rates while lifting conversions.
Why You Need a Navigation Bar
- User Experience: A clear navigation structure helps visitors find information quickly.
- SEO Benefits: Search engines use links to crawl websites, so a well-organized navigation structure can improve your SEO.
- Professional Appearance: A navigation bar gives your site a polished, professional look.
Also Read: How to Access WordPress Admin with a Fatal Error Warning
Step-by-Step Guide to Adding a Navigation Bar
Step 1: Log into Your WordPress Dashboard
- Open your web browser.
- Go to your WordPress login page (usually
yourwebsite.com/wp-admin). - Enter your username and password and click Log In.
Step 2: Create Your Menu
- In the dashboard, go to Appearance > Menus.
- Click create a new menu at the top of the page.
- Enter a name for your menu in the Menu Name field (e.g. “Main Menu”).
- Click Create Menu.
Step 3: Add Items to Your Menu
- On the left side of the Menus page, you’ll see several ways to add items:
Pages: Check the boxes next to the pages you want to include and click Add to Menu.Posts: Add individual posts by selecting them.Custom Links: Add links to external sites or specific URLs.Categories: Include links to your blog categories.
Step 4: Set Menu Location
- Scroll down to the Menu Settings section.
- Check the box for where you want your menu to appear (this varies by theme, but common options are Primary Menu or Header Menu).
- Click Save Menu.
Step 5: Customize the Menu Appearance (Optional)
Most WordPress themes let you customize how your navigation bar looks. A few ways to enhance it:
- Customize Colors and Fonts: Go to Appearance > Customize and look for color and typography options for your navigation bar.
- Add Icons: A plugin like “Menu Icons by ThemeIsle” can add icons next to your menu items for a more visual approach.
- Use Mega Menus: If your site has a lot of pages, a mega menu plugin lets you display multiple links in a dropdown format.
Step 6: Test Your Navigation Bar
- After saving your menu, visit your site to see how it looks.
- Test each link to make sure it directs visitors to the right page.
- Confirm the navigation bar is responsive and looks good on mobile - resize your browser window or check it on an actual device.
Also Read: How Do Hackers Mine WordPress for Admin Email Addresses?
Best Practices for a Navigation Bar
- Limit Menu Items: Keep it concise - 5 to 7 primary items is a good target. Too many links overwhelms users.
- Use Clear Labels: Make sure menu items are clearly labeled, and skip jargon or ambiguous terms.
- Prioritize Important Links: Put the most important links first so they’re easy to find.
- Test Navigation: Regularly test your navigation for usability, and gather feedback from actual users where you can.
Troubleshooting Common Issues
Menu Not Displaying
If your navigation bar doesn’t show up after following these steps, check:
- Theme Support: Make sure your theme actually supports custom menus - some need additional configuration.
- Menu Location: Double-check you’ve assigned the menu to the right location.
- Caching Issues: If you’ve recently changed themes or made adjustments, clear your browser cache and any caching plugins you’re running.
Links Not Working
If links in your navigation bar don’t work:
- Verify you’ve entered the correct URLs.
- Check that the pages are published and publicly accessible.

Building a Navigation Bar That Works
Adding a navigation bar to your WordPress header is a small step that goes a long way toward a better user experience. Follow the steps above, and you’ll end up with a structured, visually appealing navigation system that helps both usability and SEO. Keep it simple, test it regularly, and update it as your content changes - a well-designed navigation bar helps visitors find what they need while making your site look more professional overall.
Interesting Reads:
How to Disable WP-Cron in WordPress
Plugins we build and run
We maintain these ourselves, which is why we can support them on your site.
- BuddyNextThe self-hosted community engine for WordPress
- BuddyXFree community theme, Pro when you outgrow it
- ReignPremium community theme. Add pieces, build anything
- JetonomyCommunity forum and Q&A for WordPress
- EventonomyEvents and RSVPs for WordPress communities
- LearnomyCourses and learning communities on WordPress
- ListoraDirectories and listings your members can browse
- SnipShareCode sharing built for developer communities
- WB Ad ManagerAd placements that turn traffic into revenue
- WP Career BoardA job board your community actually uses
- WP Sell ServicesSell services with offers, orders, and payouts
- MediaVersePhotos, video, and media albums for members
- WB GamificationPoints, badges, and rewards that keep members active
- Product RoadmapPublic roadmaps with voting your users trust