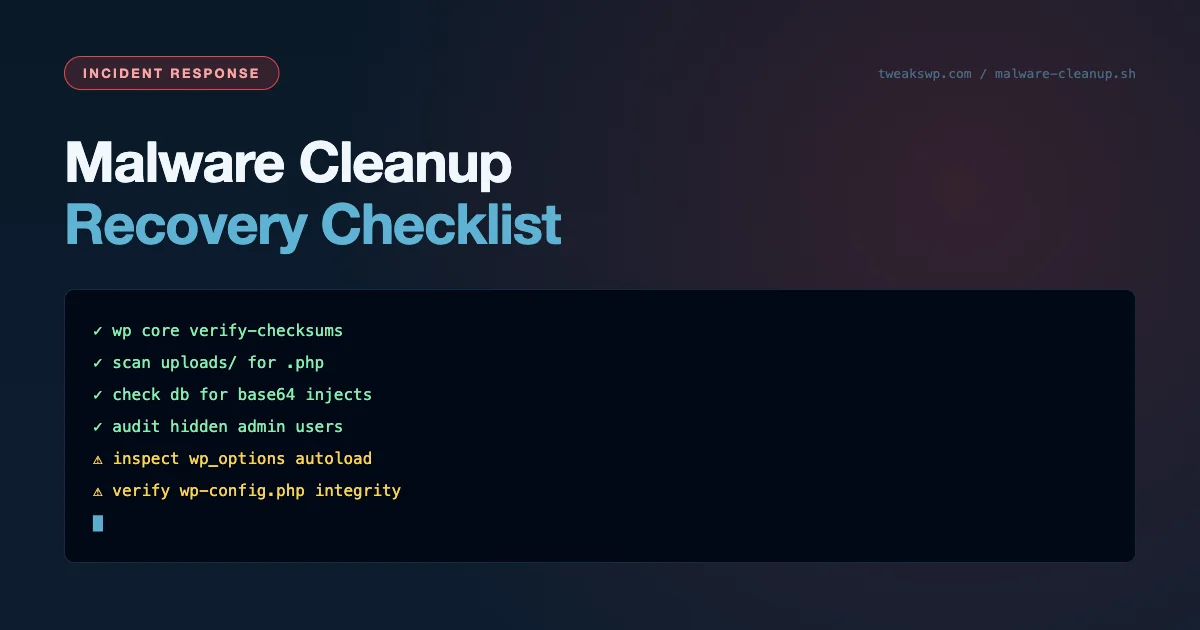
WordPress Malware Cleanup: Developer’s Step-by-Step Recovery Checklist

A compromised WordPress site is a containment problem before it is a recovery problem. The window between initial infection and discovery is typically measured in weeks, not hours. This checklist works through every layer where attackers embed persistence: core files, database content, hidden admin accounts, scheduled tasks, and wp-config.php itself.
Before You Start: Isolate the Site
Before running any cleanup, reduce the blast radius. Put the site into maintenance mode or take it offline. If you cannot take it fully offline, at minimum block outgoing HTTP requests from the server – many malware variants exfiltrate data or receive commands via HTTP callbacks:
Take a forensic snapshot before cleaning anything. Copy the entire document root and a database dump to offline storage. This gives you a reference point to diff against and preserves evidence if you need to trace the attack vector later.
Step 1: Verify Core Files Against WordPress Checksums
WordPress core files are published with known checksums. WP-CLI can verify every core file against the official checksums and flag any modifications:
The --skip-themes --skip-plugins flags limit the check to core files. Any file listed as modified is a candidate for malware. Common injection targets in core are wp-includes/functions.php, wp-includes/class-wp-theme.php, and index.php in the root.
After identifying modified files, compare them against fresh copies from wordpress.org. Do not just overwrite – read the modifications first to understand what the malware was doing. Webshells, backdoor eval() calls, and data exfiltration hooks all look different.
Step 2: Scan for Injected PHP in Database Content
Database injection puts malicious PHP or JavaScript into post content, options, or widget serialized data. The goal is code that executes when the site renders, even after you replace core files:
Focus on three patterns: eval(base64_decode( in any string, <script src= in post content pointing to external domains, and document.write( or document.createElement in option values. These are the three most common database injection vectors.
The serialized option values in wp_options are a particularly effective hiding spot because they are not directly visible as HTML in the admin. Malware in widget configurations or theme customizer settings survives core replacement and plugin reinstallation.
Step 3: Detect Hidden Admin Accounts
Many malware variants create administrator accounts that do not appear in the standard user list due to role modification or meta manipulation:
The direct SQL query bypasses WordPress’s role filtering and shows every user with the administrator capability regardless of how their data is stored. Any account you do not recognize should be deleted immediately – do not just disable it, as some malware re-enables disabled accounts via cron hooks.
Also check the wp_user_roles option for modifications. Attackers sometimes add administrator capabilities to subscriber-level roles to avoid creating obvious new admin accounts.
Step 4: Audit WP-Cron for Backdoor Tasks
Persistent backdoors often use WP-Cron to reinstall themselves after cleanup. The cron schedule is stored as a serialized array in the options table:
Any cron event calling a hook name you do not recognize should be investigated. Malware cron tasks typically call hooks that trigger eval() or file_get_contents() with a remote URL. The hook name is often obfuscated – random strings, base64 fragments, or names mimicking core hooks like wp_update_themes_callback.
After listing suspicious events, find the code that adds them back. Search plugin and theme files for wp_schedule_event and add_action calls using the suspicious hook names. The reinstaller is usually in a file that survived your initial cleanup.
Step 5: Check wp-config.php for Injection
wp-config.php is a high-value target because it executes on every request and sits outside the web root in many configurations. Injections are typically added at the top or bottom of the file:
Look specifically for: code before the <?php tag (PHP header injection), eval( calls anywhere in the file, base64_decode( calls, include( or require( pulling in files from /tmp or outside the document root, and any $_SERVER or $_COOKIE access that happens before the WordPress bootstrap.
Step 6: Find Recently Modified Files
After fixing the known injection points, find files modified around the time of the attack. This surfaces any persistence mechanisms you missed:
The find command looks for .php files modified in the last 30 days, excluding the .git directory if present. Compare the results against your deployment history – any PHP file modified outside a known deployment is a candidate for malware.
Pay attention to files in directories that should not contain PHP: wp-content/uploads/, /tmp/, and any directory writable by the web server. Attackers upload webshells to the uploads directory because it is typically writable and excluded from plugin scans.
Step 7: Reinstall Core, Plugins, and Themes
After identifying and removing injected code, reinstall everything from known-good sources:
Do not reinstall from your backup – the backup may contain the malware. Download fresh copies from wordpress.org for core and plugins, and from the plugin author’s distribution channel for premium plugins. Verify checksums after download if the author provides them.
Step 8: Harden After Cleanup
After confirming the site is clean, reduce the attack surface to prevent reinfection:
- Rotate all credentials: database password, auth keys in wp-config.php, all admin account passwords, FTP/SSH credentials, and hosting panel password
- Remove write permissions from wp-config.php and the WordPress root where possible
- Disable file editing in wp-config.php:
define( 'DISALLOW_FILE_EDIT', true ); - Review and remove any plugins or themes that are unused, outdated, or from untrusted sources
- Enable a server-level firewall rule that blocks PHP execution in
wp-content/uploads/ - Set up file integrity monitoring so you are notified of future modifications
For the full set of wp-config.php security constants and server-level lockdown settings, the WordPress security hardening guide covers all the constants that limit what attackers can do even if they gain code execution. The security headers guide adds the transport layer controls that reduce the damage of any injected scripts that do make it to the browser.
Identifying the Attack Vector
After cleanup, invest time in finding how the attacker got in. Without fixing the root cause, reinfection is a matter of days. Common entry points:
| Entry Point | Indicators | Fix |
|---|---|---|
| Vulnerable plugin/theme | Modified files match plugin directory, CVE matches install date | Update or remove the vulnerable component |
| Compromised admin credentials | New admin account, login from unfamiliar IP in access logs | Reset all passwords, enable 2FA |
| FTP/SSH credential theft | File modifications via FTP in server logs, IP not in your range | Rotate credentials, restrict SFTP to key-only |
| PHP file upload via form | Webshell in uploads directory, modified upload validation | Block PHP execution in uploads directory |
| Supply chain attack | Malware in plugin code on first install, plugin from unofficial source | Audit all plugins against official sources |
Reviewing Access Logs for the Attack Timeline
Server access logs are your forensic timeline. The goal is to find the first request that created or modified malware files, then work backward to identify the vulnerability that was exploited.
Look for POST requests to wp-content/uploads/ – these indicate file uploads via a form or editor. Look for requests to files with unusual names like random alphanumeric strings or common webshell names (c99.php, r57.php, shell.php). Requests returning 200 to non-existent PHP files suggest rewrite-based backdoors.
If you have PHP slow logs or error logs, correlate the timestamps. Many exploits produce PHP warnings before they succeed – these appear in error.log even when the malware itself is silent in access.log.
Post-Cleanup Verification
After cleanup and hardening, run a final verification pass before bringing the site back online:
- Run
wp core verify-checksumsagain on the clean install to confirm no files were missed - Check all
wp_optionswhereoption_namedoes not match a known plugin or theme pattern - Verify no cron events remain that are not registered by active plugins
- Test the site in a browser with developer tools open, checking the Network tab for requests to external domains you do not control
- Run a content security policy report-only header and review any violations for 24 hours before enforcing
- Check the user table one more time – some malware creates accounts in a delayed job triggered by a cron task, not at infection time
A clean bill from wp core verify-checksums combined with a full DB scan and no unexpected cron events gives you a reasonable confidence baseline. For ongoing monitoring, the WP_DEBUG constants guide covers how to enable logging that will surface unusual errors if malware attempts reinfection.
File Permission Hardening After Cleanup
Correct file permissions prevent many common reinfection vectors. After cleanup, set permissions to match what WordPress needs without allowing the web server to write to PHP files:
The critical permission to lock down is wp-config.php. Set it to 400 or 440 so the web server user can read it but cannot write to it. Many shared hosting environments set it to 644 by default, which allows any process running as the web server user to modify it.
For the uploads directory, the compromise between security and functionality is 755 for directories and 644 for files, with a server-level rule that blocks PHP execution. An .htaccess rule in the uploads directory with php_flag engine off (on Apache) or a Nginx location block with deny all for PHP files achieves this without breaking image uploads.
Database Table Prefix and Auth Keys
Changing the database table prefix and rotating the WordPress auth keys are post-cleanup steps that break any active sessions or database-targeted attack scripts that hardcode the standard wp_ prefix:
Rotating the AUTH_KEY, SECURE_AUTH_KEY, LOGGED_IN_KEY and their corresponding SALT values invalidates all existing login cookies. Every admin user will be logged out and need to re-authenticate. Generate new values from wordpress.org/secret-key-generator/ or with WP-CLI: wp config shuffle-salts. This is a low-cost action that ensures any session tokens held by the attacker become invalid immediately after cleanup.
Document Your Recovery
Every cleanup should produce a written incident record: what was found, where, when it was likely introduced, how it was removed, and what hardening steps were applied. This record is your reference for the next incident and your evidence trail if the site hosts user data that requires breach notification. Run the verification steps in this checklist again 48 hours after cleanup to confirm no persistence mechanisms were missed.