If you’re new to WordPress or just want a safe place to explore, install WordPress on localhost is one of the best ways to get started. This setup allows you to build, test, and experiment with your website offline—right from your own computer—without needing a domain name or web hosting.
In this complete beginner-friendly guide, we’ll cover what a localhost is, why it’s useful, and exactly how to install WordPress using XAMPP, a free tool that creates a local server environment on your computer.

WordPress Development Plans
What Does It Mean to Run WordPress on Localhost?
Running WordPress on localhost means setting up a local server environment on your personal computer where WordPress functions just like it would on a live website—but without needing an internet connection. In this setup, your computer acts like a web server, allowing you to create, modify, and test a WordPress site privately.
Here’s what’s happening behind the scenes:
Instead of purchasing web hosting and uploading WordPress to an online server, you install software such as XAMPP, MAMP, Local by Flywheel, or WAMP. These tools simulate a server environment on your computer by including key components like:
- Apache (web server)
- MySQL (database server)
- PHP (the programming language WordPress is built on)
Once this local environment is set up, you can install WordPress on localhost just as you would on a live server. All website files are stored on your computer, and you can access your site by typing localhost (or localhost/your-site-name) into your browser.
Key Benefits of Running WordPress on Localhost:
- Your Computer Becomes the Server: There’s no need to pay for hosting or rely on internet access.
- Completely Private: The site is only visible to you on your local machine, making it ideal for safe testing.
- Safe Testing Environment: You can make changes, try new themes or plugins, and experiment without risking a live website.
- No Cost Involved: You don’t need to register a domain or purchase hosting services.
- Faster Development: Local environments often run faster since everything is handled on your own device.
- Great for Learning: Perfect for beginners who want to practice and get familiar with WordPress without any consequences.
Why Use WordPress on Localhost?
Using WordPress locally gives you the freedom to experiment and explore the platform without worrying about breaking anything on a live site. Whether you’re a beginner or an experienced developer, a local setup is a powerful and cost-effective environment.
Top Benefits:
- Completely free—no need to pay for hosting.
- Fast performance (everything runs on your machine).
- Perfect for testing themes, plugins, or custom features.
- Full control and privacy while you build your site.
Understanding XAMPP: Why It’s Used with WordPress
Before we begin the setup, let’s understand the role of XAMPP. It’s a free software package that gives your computer the tools it needs to run a website locally. XAMPP includes:
- Apache – the web server software.
- MySQL – the database system used by WordPress.
- PHP – the programming language WordPress runs on.
In short, XAMPP simulates a live server on your computer, allowing WordPress to function exactly as it would online—without needing an actual web host.
What You Need to Get Started
Before you can run WordPress on your local computer, you’ll need a few basic tools and a little bit of familiarity with handling files. The good news is, everything required is free, and the setup process is straightforward—even for complete beginners.
1. XAMPP (or Similar Local Server Software)
To run WordPress on your computer, you need a local server environment. XAMPP is one of the most popular options and is available for Windows, macOS, and Linux. It bundles together everything WordPress needs to run, including:
- Apache (to serve your website)
- MySQL (to store your website data)
- PHP (to process WordPress code)
Once installed, XAMPP allows your computer to function like a real web server, enabling you to install and use WordPress locally.
2. The Latest Version of WordPress
Download the latest WordPress package from wordpress.org. It comes as a compressed ZIP file that you’ll need to extract. Inside, you’ll find all the core WordPress files necessary to build and run your site.
3. Basic File Management Skills
You don’t need to be a tech expert, but it helps to know how to:
- Download files from the internet
- Extract ZIP files
- Move folders into specific directories (like XAMPP’s htdocs folder)
These are simple actions you’ll perform during the setup process. Most users are already familiar with them, but if not, there are plenty of beginner tutorials available.
Optional but Helpful:
- A Code Editor (like VS Code or Sublime Text) if you want to experiment with theme or plugin development
- A browser (like Chrome or Firefox) to view your local site
- A bit of curiosity and willingness to explore new tools.
Also Reads: 10 Best Software for Document Management
Step-by-Step: Installing WordPress on Localhost with XAMPP
Follow these simple steps to get your local WordPress site running.
Step 1: Download and Install XAMPP
- Visit apachefriends.org and download XAMPP for your operating system.
- Run the installer and follow the setup process with default settings.
- Open the XAMPP Control Panel after installation.
- Start both Apache and MySQL services (you’ll see them turn green).
Step 2: Create a Database for WordPress
- In the XAMPP Control Panel, click Admin next to MySQL to open phpMyAdmin.
- Click the Databases tab.
- Create a new database by entering a name like WordPress demo, then click Create.
Step 3: Download and Place WordPress Files
- Download WordPress from wordpress.org.
- Unzip the downloaded folder.
- Move the unzipped WordPress folder into the htdocs directory inside your XAMPP folder (usually found in C:\xampp\htdocs).
- Rename the folder to something simple like mysite.
Step 4: Launch WordPress Installation
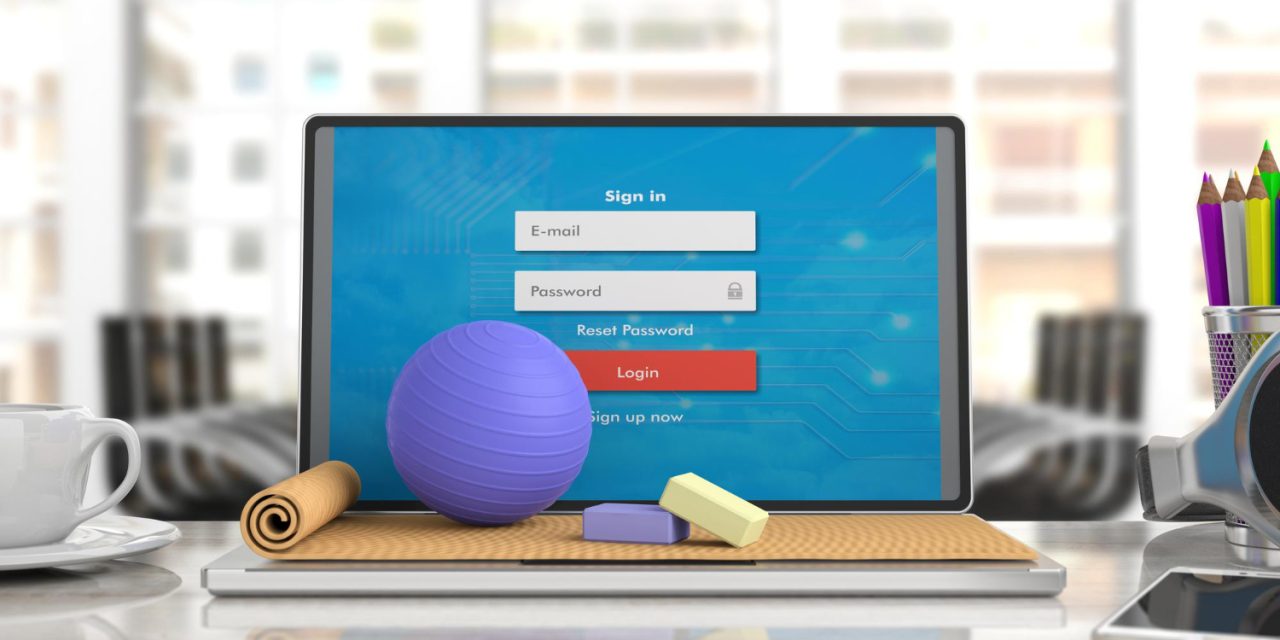
- Open your browser and go to: http://localhost/mysite.
- Select your preferred language and click Continue.
- Fill in the database connection details:
- Database Name: WordPress demo
- Username: root
- Password: (leave blank)
- Database Host: localhost
- Click Submit, then click Run the Installation.
Step 5: Set Up Your WordPress Site
- Enter your Site Title, choose a Username and Password, and enter your Email Address.
- Click Install WordPress.
- Once the installation completes, log in at:
http://localhost/mysite/wp-admin
What You Can Do After Installation
Now that your local WordPress site is up and running, the possibilities are endless. Use this space to learn, test, and grow your skills.
Here are some things to explore:
- Try themes like BuddyX to easily customize your site design
- Install plugins for SEO like RankMath , contact forms, or galleries.
- Create sample posts and pages to practice content creation.
- Experiment with custom CSS, layout changes, or code tweaks.
How to Migrate Your Local Site to Live Hosting (Later On)
Once you’re happy with your local site and want to take it live, you can migrate it to a real web server.
Migration Options:
- Manually transfer files and databases to your web host.
- Use a plugin like All-in-One WP Migration or Duplicator for easier migration.
- Check if your web host offers automated migration tools.
This future step is easy once you’re ready—and working locally helps you avoid mistakes before going live.
Want to Go Even Further with Your Learning?
If you’d prefer a more visual or portable guide, there are plenty of ways to make the learning process easier:
- A downloadable PDF guide you can follow offline
- A step-by-step video tutorial for visual learners
- Screenshots or illustrated walkthroughs for extra clarity
These resources can help you follow along at your own pace and give you added confidence. If you’d like help creating any of these, feel free to reach out!

Getting Comfortable with WordPress the Smart Way
Installing WordPress on your local computer is one of the best ways to get comfortable with the platform. It creates a safe and private space where you can learn, experiment, and build your website without worrying about breaking anything or making mistakes in front of a live audience.
Whether you’re a complete beginner trying to understand how WordPress works, or an experienced user testing new themes, plugins, or custom features, working in a local environment gives you full control. You can try out new ideas, fix errors, and make changes freely—without needing a domain name or paying for hosting.
Once you’re confident and happy with your work, it’s easy to move your site from your local machine to a live server so others can see it online.
In short, running WordPress locally is a smart first step in building any kind of website. It’s free, flexible, and beginner-friendly—making it the perfect starting point for learning and growing with WordPress.
Interesting Reads:
How to install WordPress on cPanel?
Last modified: February 11, 2026