If you’re hanging out in the WordPress world and creating content regularly, then you’ve probably bumped into the Gutenberg Blocks editor by now. And if you haven’t explored its full potential yet, you’re in for a treat!
Gutenberg lets you build posts block by block like playing with digital LEGO! Each block has a specific purpose, and when used wisely, they can totally transform your content from “meh” to “whoa!” So, let’s chat about the best blocks for blogging that you should definitely be using to make your content stand out.
1. Paragraph Block
This is your bread and butter as a blogger. It’s where your voice lives, the main storytelling space. Whether you’re sharing personal experiences, writing tutorials, or posting opinion pieces, the Paragraph block is where the magic begins. It forms the foundation of every post you write, allowing your content to flow naturally.
You can easily type out your content and format it with the inline toolbar, think bold text for emphasis, italic for subtle tone, or even changing the text color to match your brand’s vibe. It’s the most used block for a reason, it gives you creative control without overwhelming you.
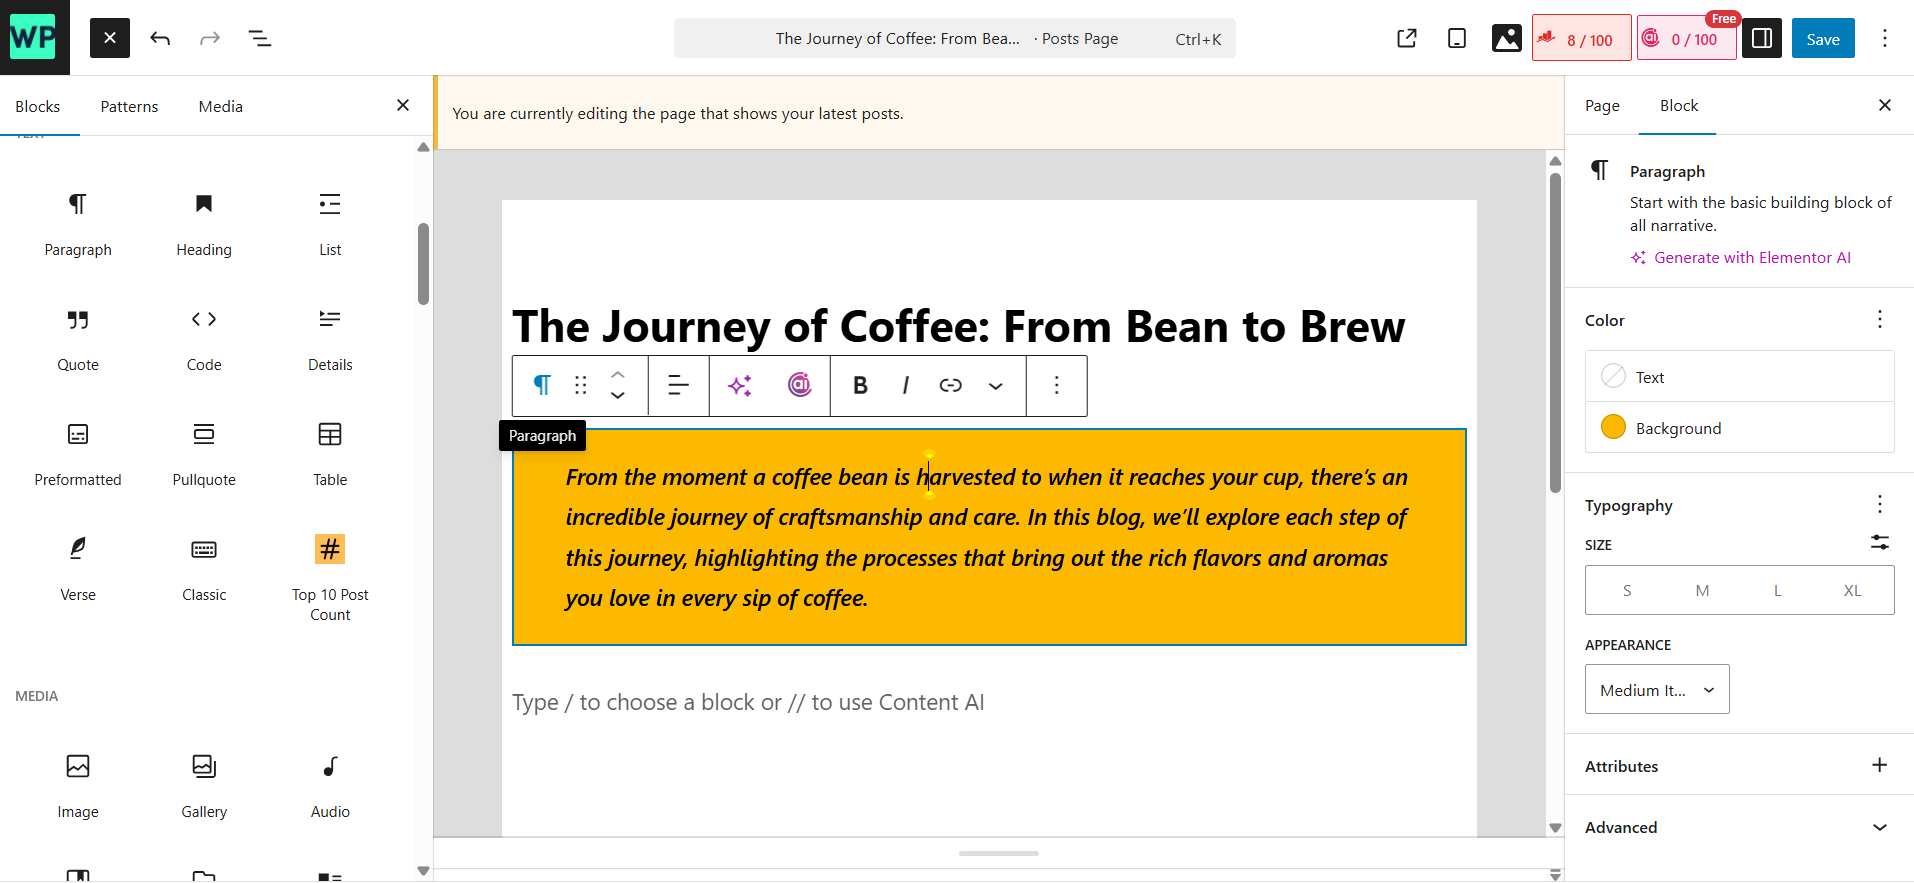
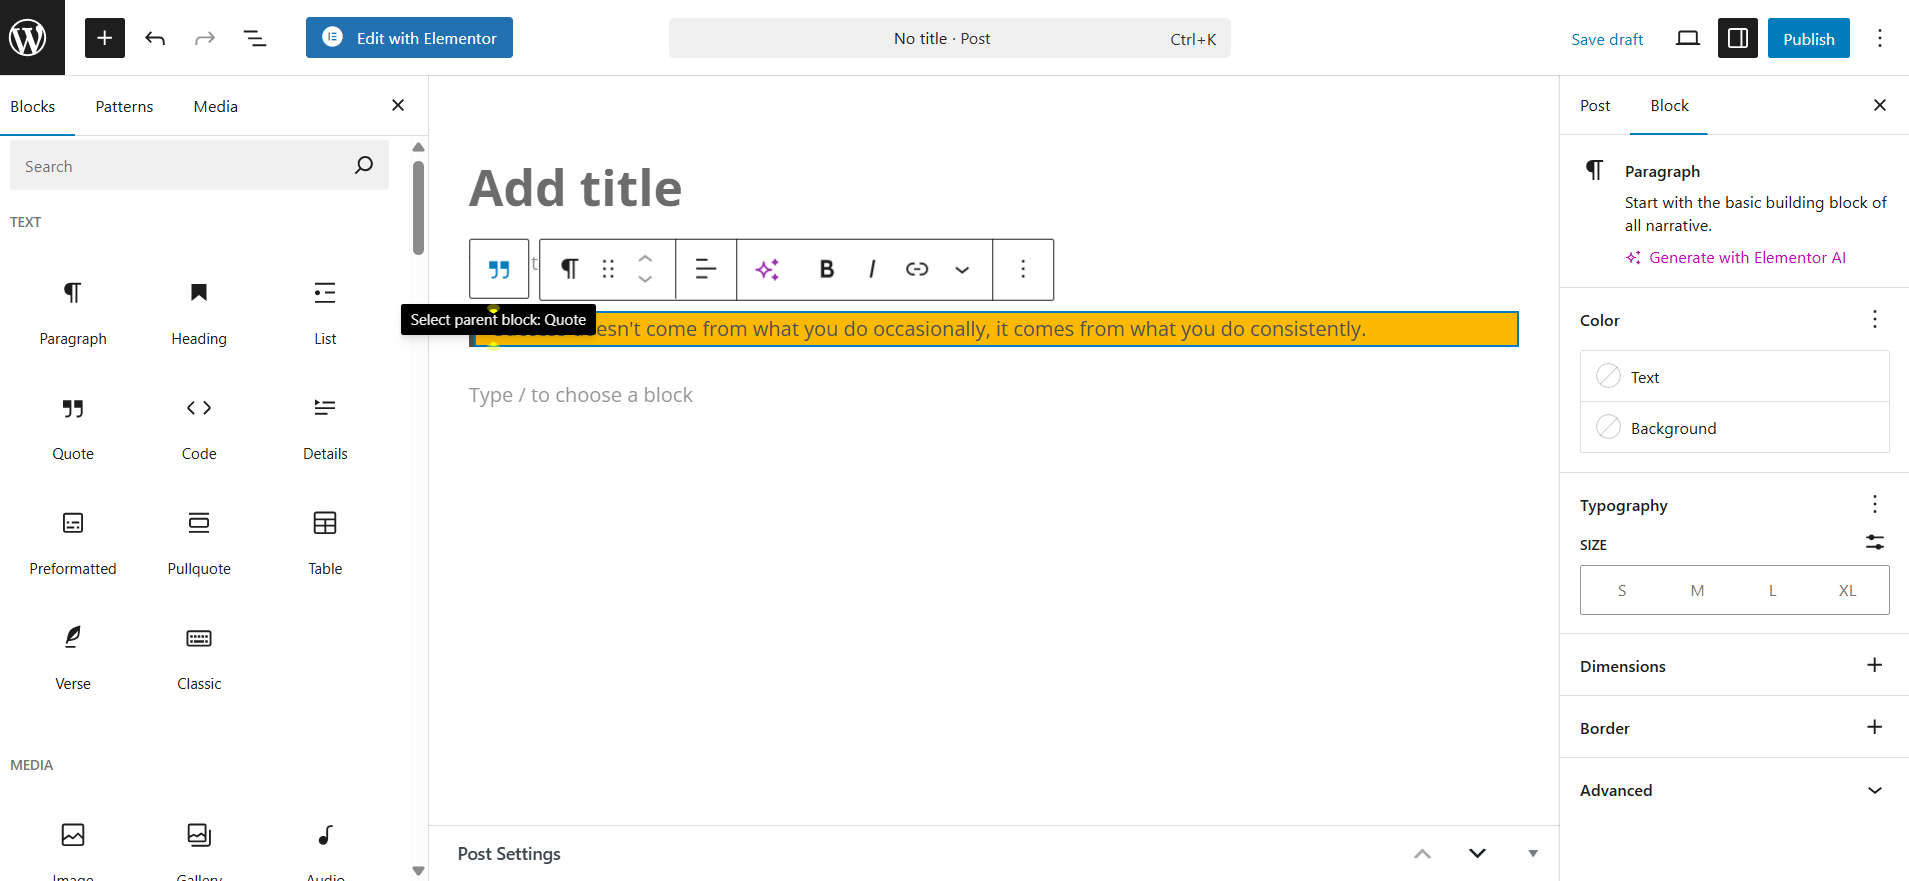
Paragraph Block
How to use it
- Click the “+” icon in the editor to open the block menu and expand the available options.
- Select the “Paragraph” block from the list or start typing directly, and Gutenberg will auto-select it.
- Just start typing your content right into the editor, your words come to life instantly.
- A formatting toolbar will appear right above the block, loaded with useful tools:
- Bold, Italic, and Underline to emphasize key parts of your content with a single click.
- Text Alignment options like left, center, right, or justified to keep your layout neat and readable.
- Color Settings to customize text or background colors in line with your blog’s branding.
- Typography Controls that let you adjust font size, activate drop caps, or manage line height for better readability.
- Link option to hyperlink specific phrases—great for guiding readers to related posts or external sources.
Pro Tip: Keep your paragraphs short and punchy. Stick to one idea per paragraph to make your content more digestible. Break up long chunks with line spacing to give your reader’s eyes a break.
2. Quote Block
This one’s perfect for making a piece of text pop, whether it’s a testimonial, a bold statement, or a snippet from a book or article. It helps highlight impactful thoughts without needing to style them manually. Visually, it sets important text apart from the rest and gives a reader-friendly, professional appearance to your post.
Whether you’re quoting a famous author or highlighting a review, this block adds credibility and rhythm to your writing. It’s also a smart way to break up large chunks of content and let powerful words stand alone for maximum impact.
Quote Block
How to use it
- Click the “+” icon to open the block inserter in the Gutenberg editor.
- Search for and select the “Quote” block from the list.
- Type or paste your quote into the main quote field.
- Use the optional citation field below to attribute the source (great for adding credibility).
- Style your quote using the toolbar:
- Alignment tools let you align your quote left, center, or right depending on the design layout.
- Styles toggle allows you to switch between standard and large quote styles for added emphasis.
- Text formatting options such as bold or italic help further refine the visual impact.
- Color and typography settings in the right sidebar let you match the quote style to your blog’s look.
- Add drop caps or letter spacing adjustments if you want to get really fancy.
Pro Tip: Use the Quote block to emphasize key takeaways or to reinforce your points with authority. It’s great for breaking the monotony of continuous text.
3. Media & Text Block
This block is ideal when you want to place an image and some text side by side. It’s perfect for storytelling, featuring product images with descriptions, or breaking up text-heavy content with visuals. It adds a balanced layout that keeps your post engaging and easy to scan.
The visual harmony between image and text in a single row draws attention and helps readers process information faster. It’s a great block for testimonials, case studies, portfolio highlights, or even blog intros with personality.
How to use it
- Click the “+” icon and add the Media & Text block from the list.
- On the left side of the block, upload a new image or select one from your media library.
- On the right side, add your written content this could be a short description, commentary, or call to action.
- Use the block settings panel on the right to adjust layout preferences:
- Align media vertically if you want better symmetry.
- Toggle “Stack on mobile” to ensure mobile-friendliness.
- Add a background color to visually separate this section from the rest of your post.
- Adjust padding and spacing to keep the section tidy and readable.
Choose high-quality images that complement your text. This combo can make your post feel dynamic and well-thought-out. If you’re writing a tutorial, try pairing screenshots with explanatory text to boost clarity and reader satisfaction.
4. Image Block
Images are essential for adding visual interest to your blog posts. The Image block is simple yet powerful, it helps break up large text sections, enhances storytelling, and is a great way to add personality to your posts.
Whether you’re using product images, infographics, or personal photos, the Image block lets you upload or link to visuals that complement your written content. It’s one of the most straightforward yet highly effective blocks to incorporate into your posts.
How to use it
- Click the “+” icon to open the block menu and select “Image”.
- Upload a new image or choose from your media library.
- Add alternative text (important for accessibility and SEO) to describe your image.
- Resize or align the image by selecting the toolbar options.
- You can also add a caption under the image to explain or enhance it.
- Adjust the image’s alignment with options like left, center, or right to fit your design needs.
Optimize your images for faster loading times by keeping file sizes in check without sacrificing quality. Use the Image block for visual content that supports your point, rather than just decorative images. Be mindful of SEO make sure each image has alt text that accurately describes it!
5. List Block
If you’re looking to create easy-to-follow steps, ideas, or a list of points, the List block is your best friend. Whether it’s a to-do list, step-by-step instructions, or a list of resources, it neatly organizes information, making it super user-friendly and digestible for readers.
Lists provide structure and clarity, which is particularly useful for posts with actionable advice or important takeaways. The List block is simple but can be very impactful when used properly.
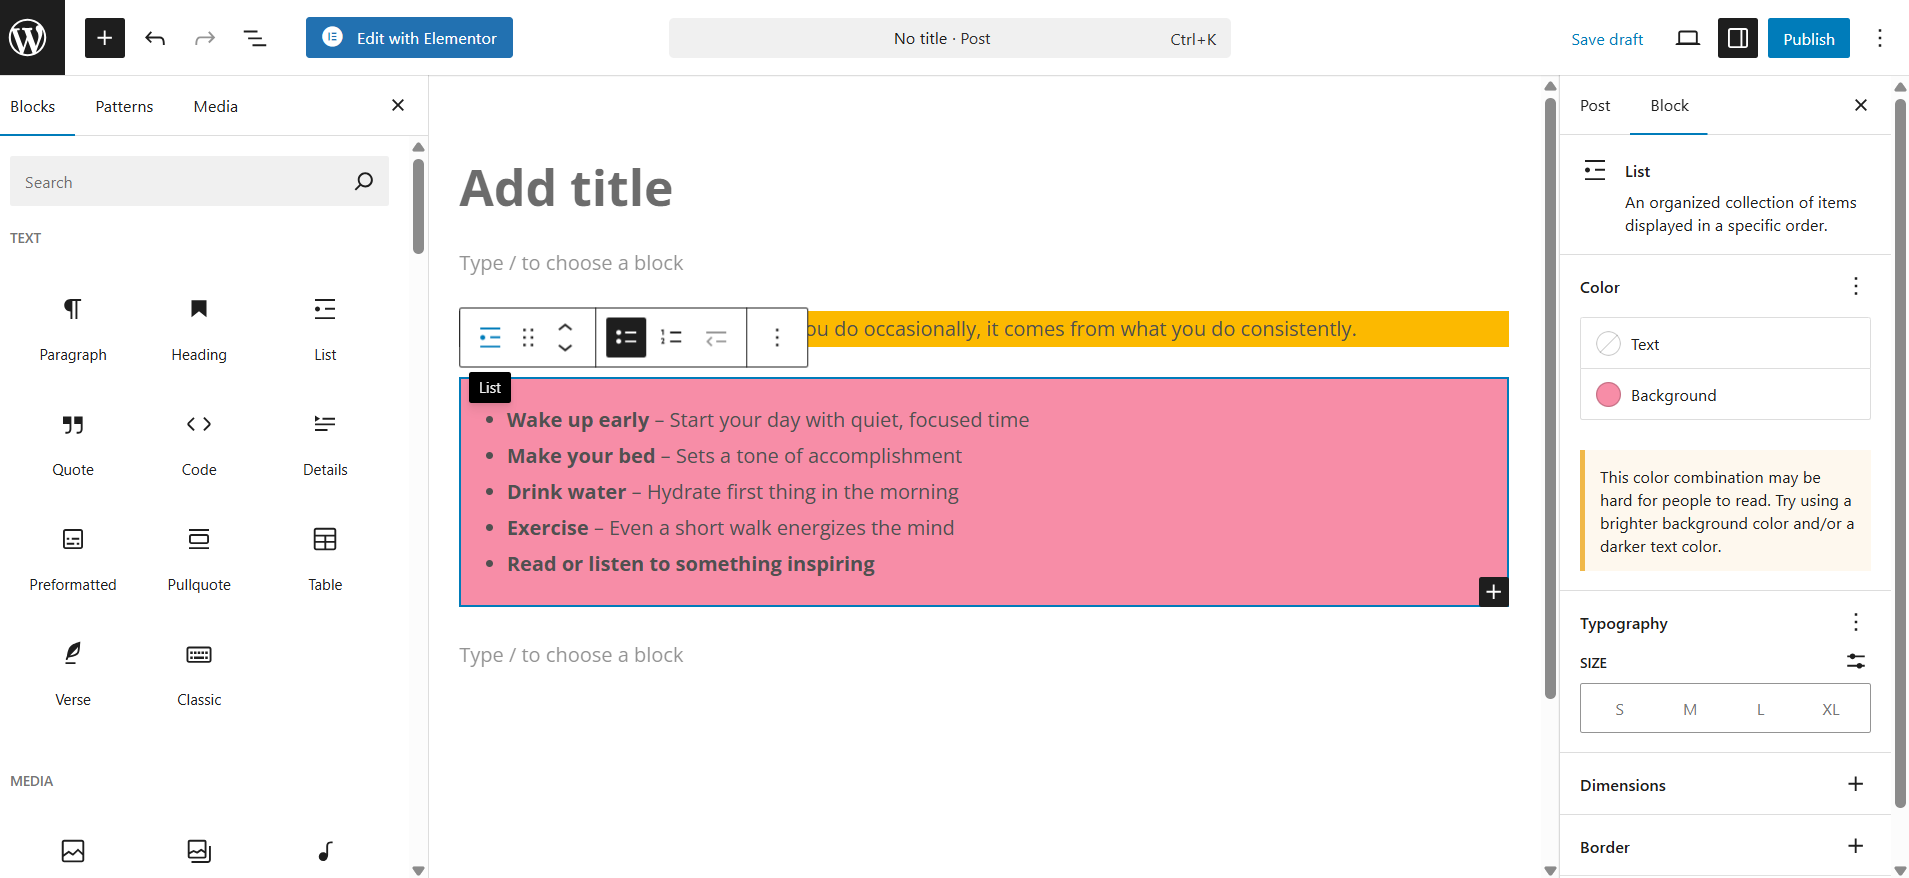
List Block
How to use it
- Click the “+” icon and select the “List” block from the options.
- Type your list items directly into the editor.
- Use the toolbar to format your list make it a bulleted or numbered list, depending on your needs.
- You can add more items by hitting Enter, or remove items by selecting and deleting them.
Lists are great for organizing content that’s long or has multiple points. Be sure to make each list item short, focused, and actionable. If you’re sharing steps, use numbered lists to provide a clear, sequential flow.
6. Button Block
Adding a button is a must when you want to encourage action from your readers. Whether it’s for signing up for a newsletter, buying a product, or reading another post, a button block grabs attention and directs users to the next step.
The Button block is an excellent tool for conversion whether it’s increasing engagement, driving traffic, or simply guiding users through your website.
How to use it
- Click the “+” icon to select “Button” from the block options.
- Type the text you want the button to display e.g., “Read More,” “Subscribe Now”.
- Add a link that the button should lead to a URL or page on your site.
- Customize the button style by choosing between different colors, sizes, and shapes in the toolbar.
- You can also align the button to fit your page’s design.
Make sure your button text is action-oriented and clear. Use contrasting colors for the button to ensure it stands out. The goal is to make it as easy as possible for readers to take the next step.
7. Heading Block
Headings are like signposts for your content they guide readers through your post and help them navigate your ideas. The Heading block allows you to break up sections and improve the overall structure and readability of your content.
Each heading introduces a new idea, making your content easier to scan and understand. Whether you’re writing a tutorial, a how-to guide, or a long-form blog post, using headings properly makes a big difference.
How to use it
- Click the “+” icon and choose the “Heading” block from the list.
- Type your heading text directly in the block.
- Choose from Heading 1 (H1) to Heading 6 (H6) depending on the importance and hierarchy of your content.
- You can adjust the style, font size, and alignment using the block’s toolbar options.
Use Heading 1 (H1) for the main title of your post and then use Heading 2 (H2) for subheadings, and so on. This structure helps improve the SEO of your content by making it easy for search engines to understand the main topics of your post.
8. Spacer Block
Spacing can make or break the design of your blog. The Spacer block is perfect when you want to add a bit of breathing room between sections of your content. This subtle tool helps create a clean, well-organized layout and prevents your post from feeling too cluttered.
While the Spacer block might seem simple, it’s crucial for enhancing readability and ensuring your post is visually appealing.
How to use it
- Click the “+” icon and select “Spacer” from the list.
- Adjust the height of the spacer using the slider or input a specific pixel value to control the space.
- You can place a Spacer block between sections, images, and paragraphs to control the visual flow.
Don’t go overboard with spacers. Too much spacing can make your content feel disjointed. Use them strategically to create separation between different types of content like between your introduction and main content, or between a conclusion and a call to action.
9. Table Block
If you’re presenting data or comparison charts, the Table block is perfect. It helps present structured information in a clean, organized way, making it easy for readers to follow along. Whether you’re comparing features, pricing, or statistics, a table adds clarity and professionalism to your content.
Tables are particularly helpful in product reviews, case studies, or any post where numbers play a significant role.
How to use it
- Click the “+” icon and select the “Table” block.
- Choose the number of columns and rows you need.
- Fill in your table with data, text, or images as needed.
- Customize the table by adjusting the column width or aligning text in the cells.
Make your tables simple and easy to read. Use alternating row colors for clarity, and avoid overly complex tables that could confuse your readers. Tables are great for organized data, but remember to keep the design clean and legible.
10. Reusable Block
Reusable blocks are a lifesaver when you’re using the same content in multiple posts. Think of them as templates for your favorite pieces of content—like call-to-action buttons, email signup forms, disclaimers, or affiliate links.
Instead of recreating the same thing over and over again, you just save the block once and reuse it anywhere across your site. And the best part? Update it once, and the changes apply everywhere it’s used. It’s a game changer for consistency and productivity.
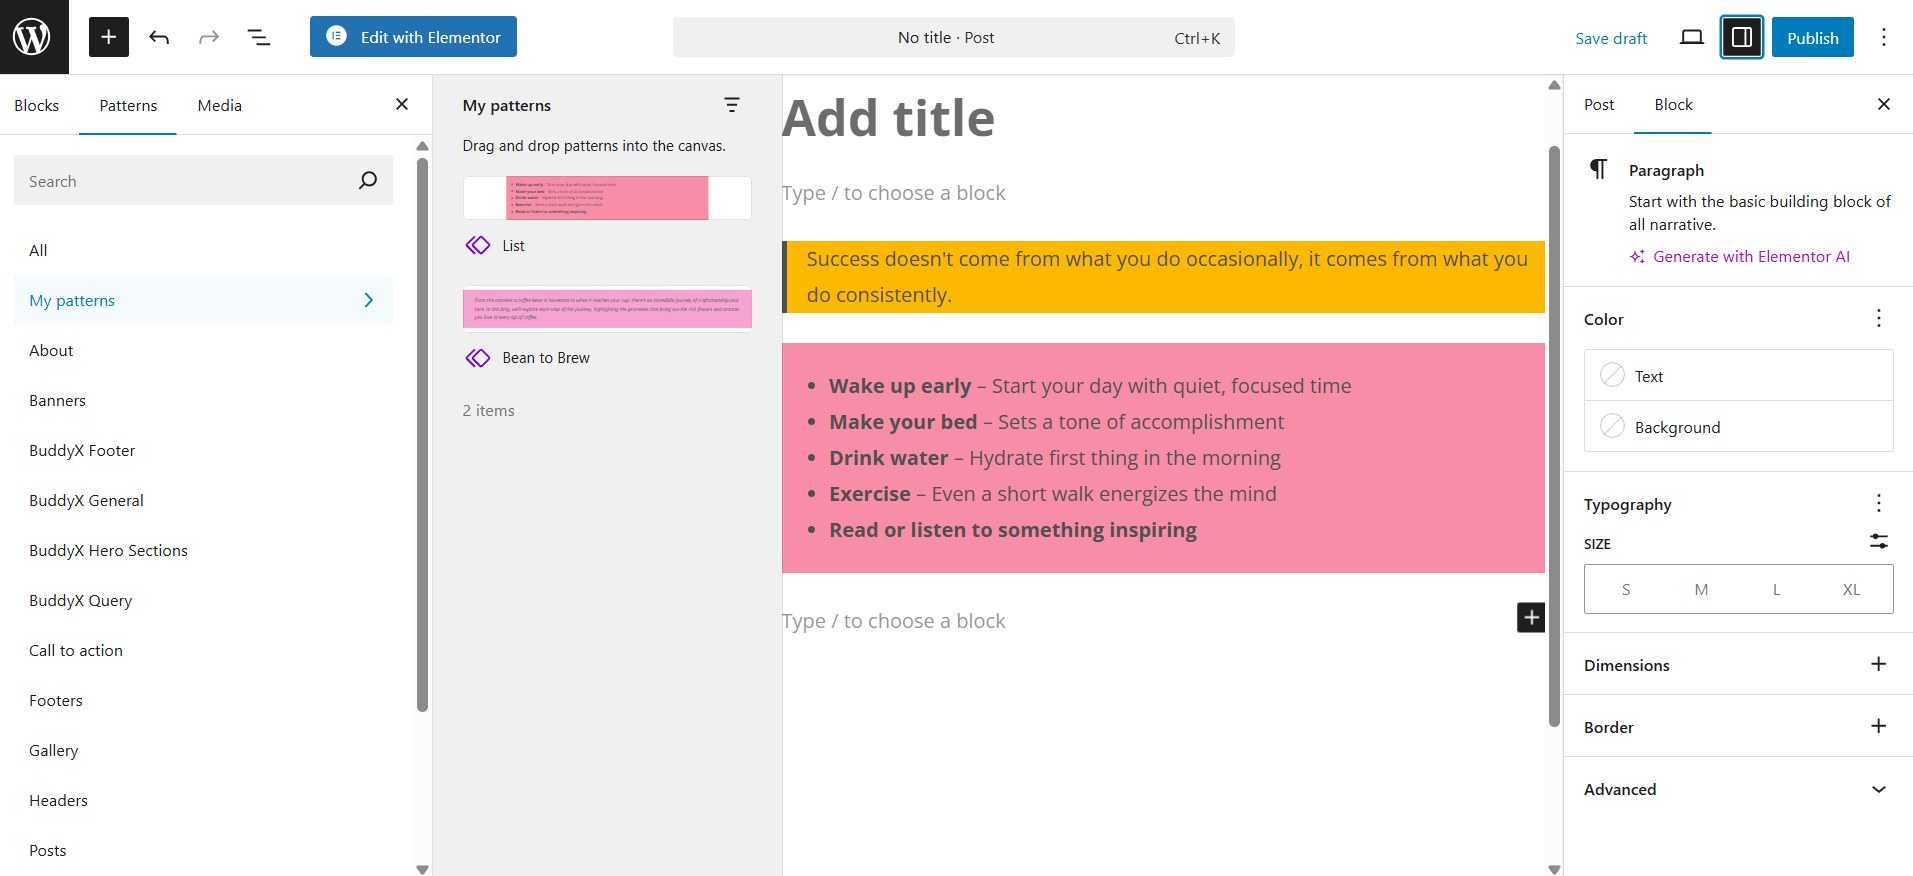
Reusable Block
How to use it
- After adding and designing a block you want to reuse could be a paragraph, button, or multiple blocks grouped together, click the three-dot menu on the block toolbar.
- Select “Add to Reusable blocks.”
- Give it a name you’ll remember, something specific like “Newsletter CTA Block.”
- To reuse it later, simply click the “+” icon, search for your saved block by name, and insert it.
- To manage or update your reusable blocks, head over to the “Reusable blocks” section in the editor sidebar or WordPress dashboard under block management.
Reusable blocks are excellent for branding. Use them to create consistent call-to-action layouts, reminders, or even banners. Just don’t forget to update them periodically to keep them fresh and relevant!
Also Read: WordPress Block Patterns
Let’s Go One Step Further
These default Gutenberg blocks are amazing for creating rich, engaging content, but if you’re looking to take your blog to the next level, it’s time to explore some Gutenberg block plugins. These plugins give you additional customization options and advanced features that can really set your blog apart.
1. Kadence Blocks
This plugin is incredibly flexible and allows you to design pages like a pro without touching a line of code. With its wide range of advanced blocks (like row layouts, advanced buttons, and accordion features), Kadence gives you the tools to create custom designs with ease. The best part? It integrates seamlessly with the Gutenberg editor, making it a breeze to use.
2. GenerateBlocks
If performance is your top priority, GenerateBlocks is the go-to plugin. It’s lightweight, incredibly fast, and packs a punch with essential blocks like containers, grids, buttons, and more. Despite its minimalistic approach, it gives you complete control over the layout and design, all while ensuring your site runs at optimal speed.
3. Stackable
This plugin offers a ton of pre-made designs and layouts, which means you can jump right into building visually stunning content without starting from scratch. Stackable comes with blocks for things like galleries, testimonials, call-to-action sections, and more. It’s a great option if you’re looking to get up and running quickly with professional-grade designs.
These tools extend Gutenberg’s default capabilities and offer even more creative control when writing and designing with Gutenberg. By leveraging these plugins, you can add dynamic features, improve performance, and ultimately create a more polished, unique blog experience.
Final Thoughts
Gutenberg blocks offer a powerful way to enhance your blog posts with minimal effort. By strategically using blocks like Paragraph, Quote, Media & Text, and List, you can create clean, engaging, and visually appealing content. The key is to keep your layout user-friendly and consistent with your brand, making it easy for readers to navigate and absorb the information.
Remember, less is more when it comes to design. Experiment with different blocks, but avoid overcrowding your post. Focus on delivering a seamless reading experience while optimizing for SEO, accessibility, and mobile devices. With these simple strategies, you’ll be able to create high-quality, compelling blog posts that keep your audience coming back for more.
Interesting Reads
Best Gutenberg Blocks Plugins for WordPress
Best Gutenberg Blocks Plugins for 2025
best blocks for blogging customize wordpress editor Gutenberg Blocks reusable blocks wordpress wordpress block editor
Last modified: February 11, 2026