Your personal brand is your digital fingerprint, it sets you apart in a crowded online world. Whether you’re a business coach, creative freelancer, consultant, or thought leader, having a personal website is no longer just nice to have, it’s essential. It’s time to take control and build your personal website, the online home where your story, work, and voice come together.
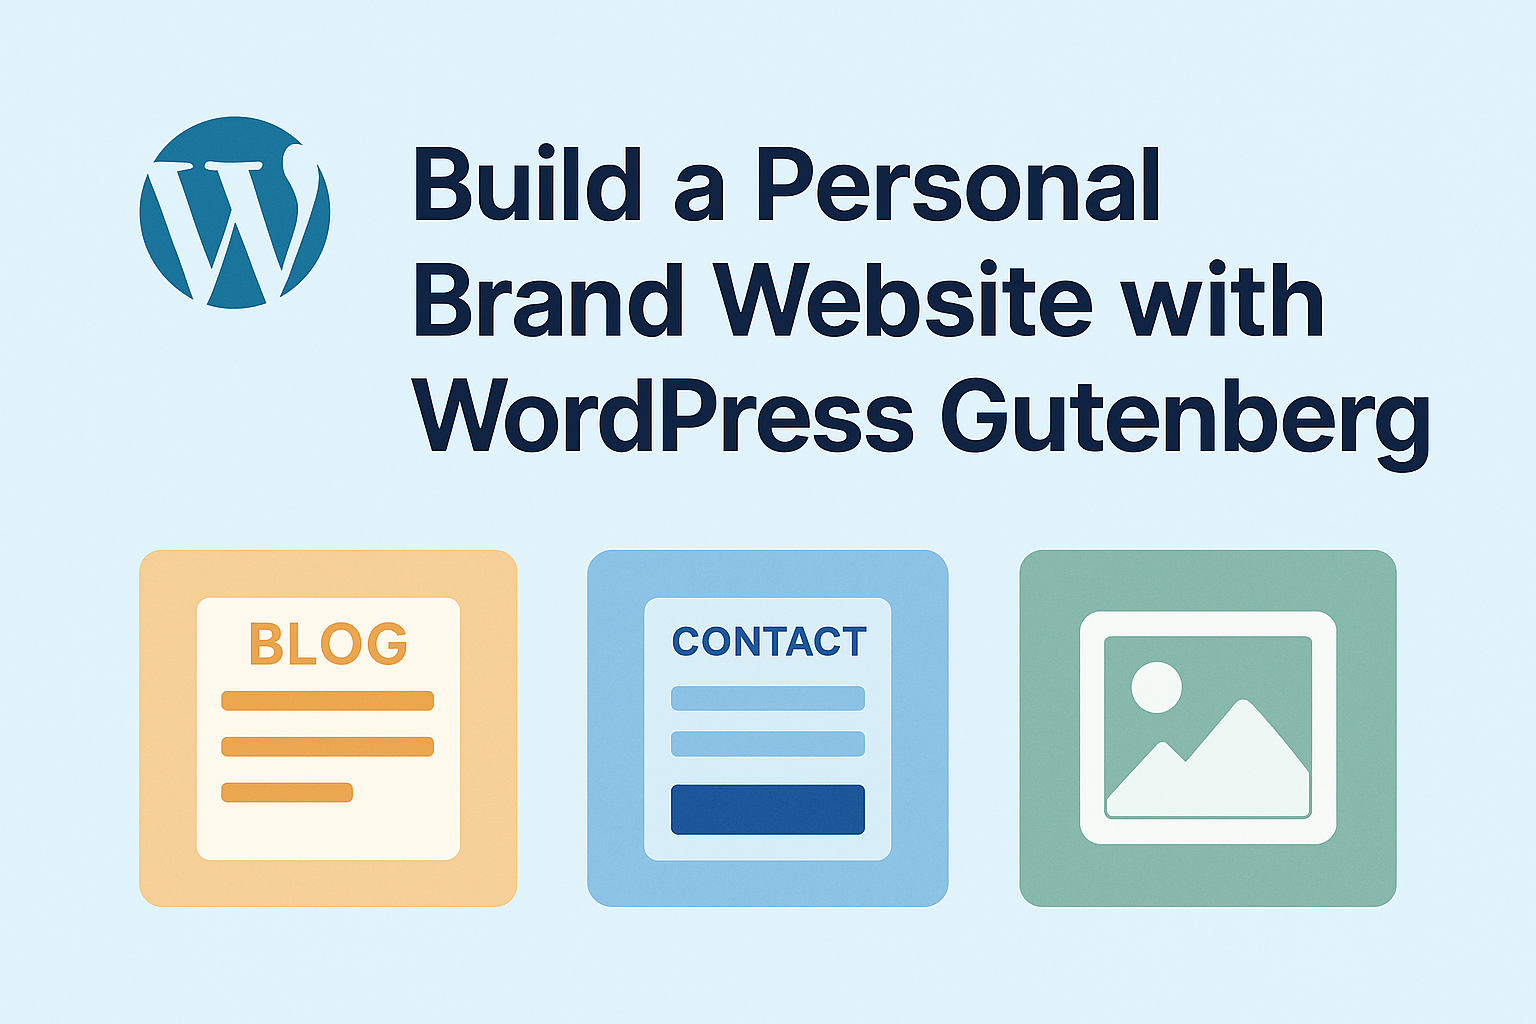
Building a professional, modern website no longer requires coding skills or hiring a developer. WordPress now uses a powerful block-based editor called Gutenberg, which allows you to visually build and customize your site using intuitive drag-and-drop blocks. From headers and images to forms and columns, every element is modular, making it easier than ever to design pages that align with your brand, all without touching a line of code.
In this guide, we’ll walk you through why personal websites matter, what you need to get started, and exactly how to build your brand’s digital home with Gutenberg. By the end, you’ll have a solid, stylish website that reflects your personality, showcases your work, and helps you attract the right clients and opportunities, on your own terms.
Why a Personal Website is a Must and Who Needs One
In today’s digital-first world, your personal brand is often discovered before you’re even introduced. Whether you’re a coach, consultant, freelancer, author, or even a student, having your own website is no longer optional, it’s essential.
Think about it: what’s the first thing someone does before hiring you, inviting you to speak, or offering collaboration? They Google your name. And what shows up matters. Social media helps, sure but platforms come and go. Your personal website is your own space. It’s where you’re in control. You decide what people see, read, and remember about you.
A personal website allows you to:
1. Share your story in your own voice
Unlike social media bios or third-party platforms, your website gives you the freedom to present your journey, values, and personality in an authentic way. Whether it’s through a compelling About page, a timeline of your career, or blog posts that reflect your thoughts, you have full control over how your story unfolds online.
2. Showcase your expertise, work, or services
Your website is your professional portfolio. Highlight past projects, share client testimonials, display certifications, or describe the services you offer in detail. Whether you’re a coach sharing your transformation process or a freelancer showing off creative work, this is where your skills shine.
3. Build credibility and trust
A well-designed, updated website shows you’re serious about your work. It acts as a digital handshake, professional, polished, and reassuring. Including social proof, such as media features, client logos, or credentials, can dramatically increase your perceived credibility.
4. Attract clients, speaking gigs, or partnerships
With the right structure and messaging, your site becomes a lead-generating machine. When people search your name or niche, they’ll find a clear explanation of who you help, how you help them, and how to connect with you. Add clear calls-to-action and booking forms to make it easy for new opportunities to land in your inbox.
5. Create a platform that grows with you over time
Unlike platforms that limit your content or suddenly change algorithms, your personal website is yours to evolve. You can start with a few pages and expand as your brand matures, add a blog, online store, course portal, podcast, or email newsletter anytime without starting over.
So, whether you’re a business coach looking to generate leads, a writer building authority, or a freelancer tired of chasing platforms, your personal brand website is your online HQ.
What You Need to Build Your Personal Website
Before you begin designing pages or writing content, you’ll need a few essential components to get your personal website off the ground. Think of this as laying the digital foundation, without it, your site can’t exist, no matter how creative your ideas are.
The platform you choose makes all the difference. For coaches, consultants, and freelancers who want full control and flexibility, WordPress.org is the way to go. Unlike WordPress.com, which offers limited customization under a hosted service, WordPress.org lets you fully own and tailor your site to your brand.
To build your site, here’s what you’ll need:
- A Domain Name – This is your website’s address, like YourName.com. Ideally, use your name or business name so people can easily find and remember it.
- Web Hosting – Hosting is the online “space” where your site lives. It stores your files, images, content, and ensures your site stays live and loads fast.
Several hosting providers like Bluehost, Hostinger, or SiteGround offer beginner-friendly WordPress plans with 1-click installation and even free domains in the first year. Most of them are also affordable, so you don’t need a big investment to start.
Once you’ve secured your domain and hosting, you’re ready to install WordPress and begin designing with Gutenberg, the block-based editor that makes site-building visual and intuitive even for beginners.
Step-by-Step: How to Build Your Personal Brand Website Using WordPress Gutenberg
Step 1: Choose a Domain Name and Hosting Provider
The first impression of your personal brand online begins with your domain name. Think of it as your digital address, make it simple, easy to remember, and closely aligned with your name or niche. If possible, go for a .com domain as it’s universally recognized and trusted. For instance, if you’re a designer named Jane Doe, something like janedoedesigns.com would work perfectly.
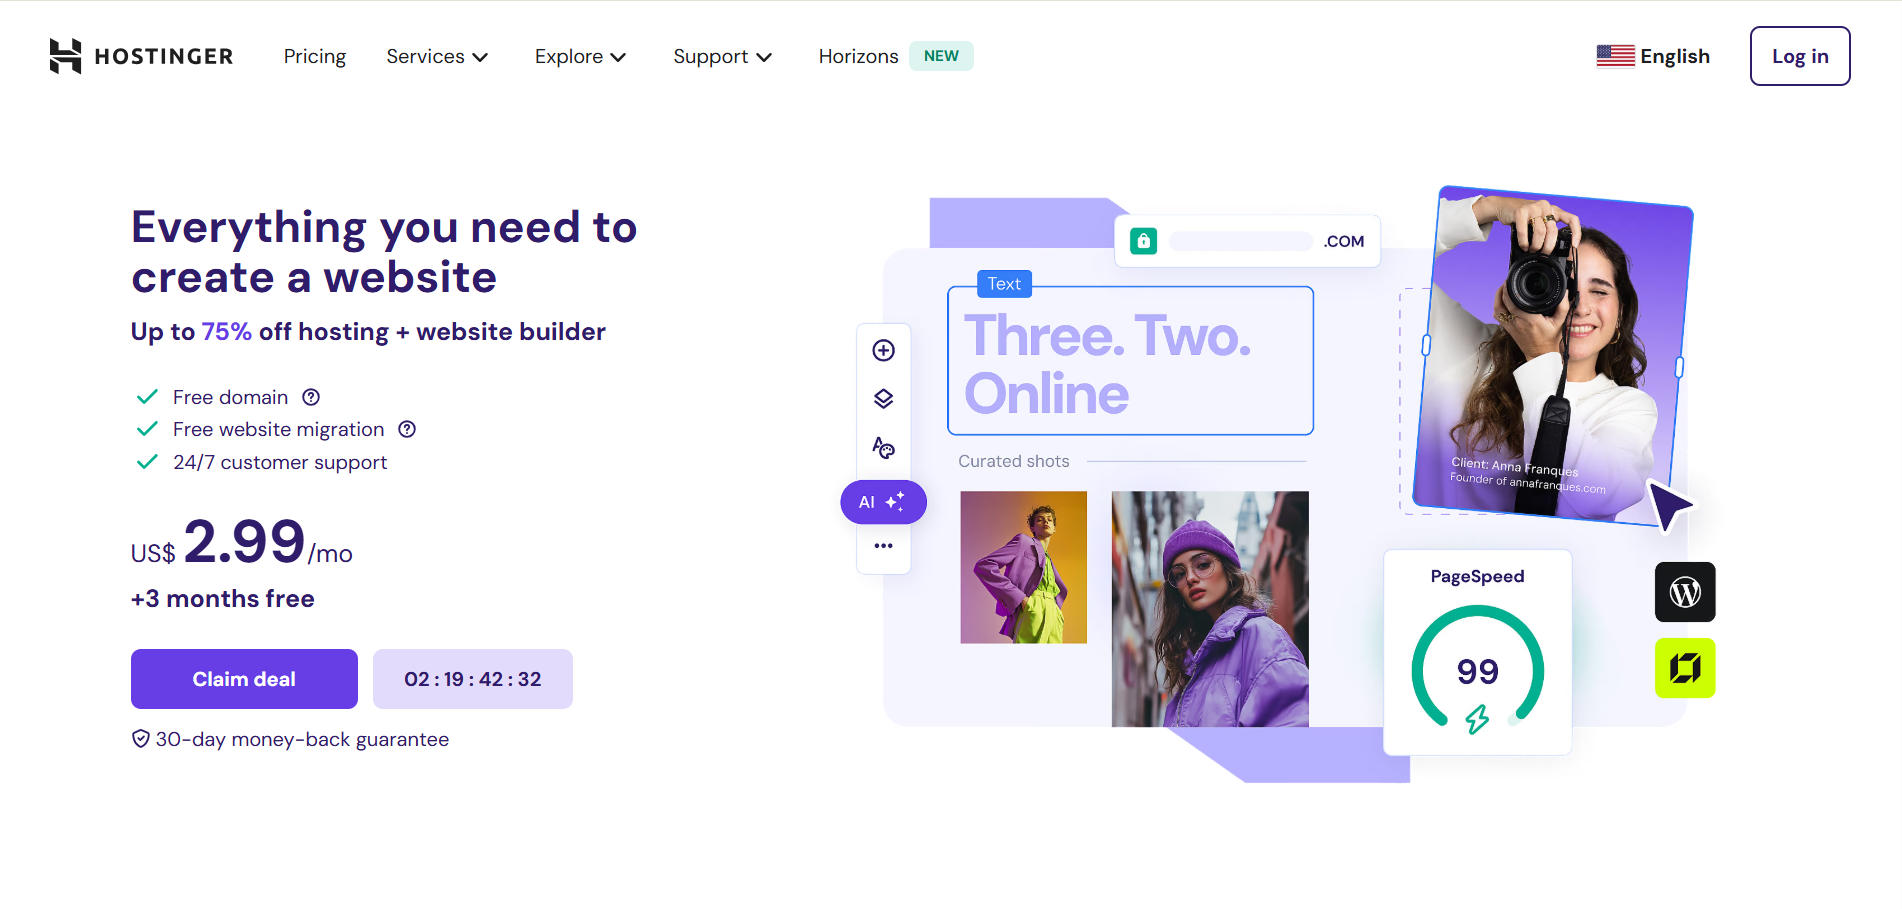
Next, you’ll need a reliable hosting provider, the engine behind your website that stores your files and keeps your site live 24/7. Choose a hosting plan optimized for WordPress. Providers like Bluehost, SiteGround, and Hostinger offer fast, secure, and beginner-friendly hosting with 1-click WordPress installation. Look for features like free SSL, 99.9% uptime, customer support, and scalable plans that grow with your needs.
Step 2: Install WordPress
Installing WordPress is easier than ever, especially with most hosts offering a one-click setup. Once you’ve logged into your hosting dashboard, look for the WordPress icon or installer. In a few guided steps, you’ll set up your site title, username, and password.
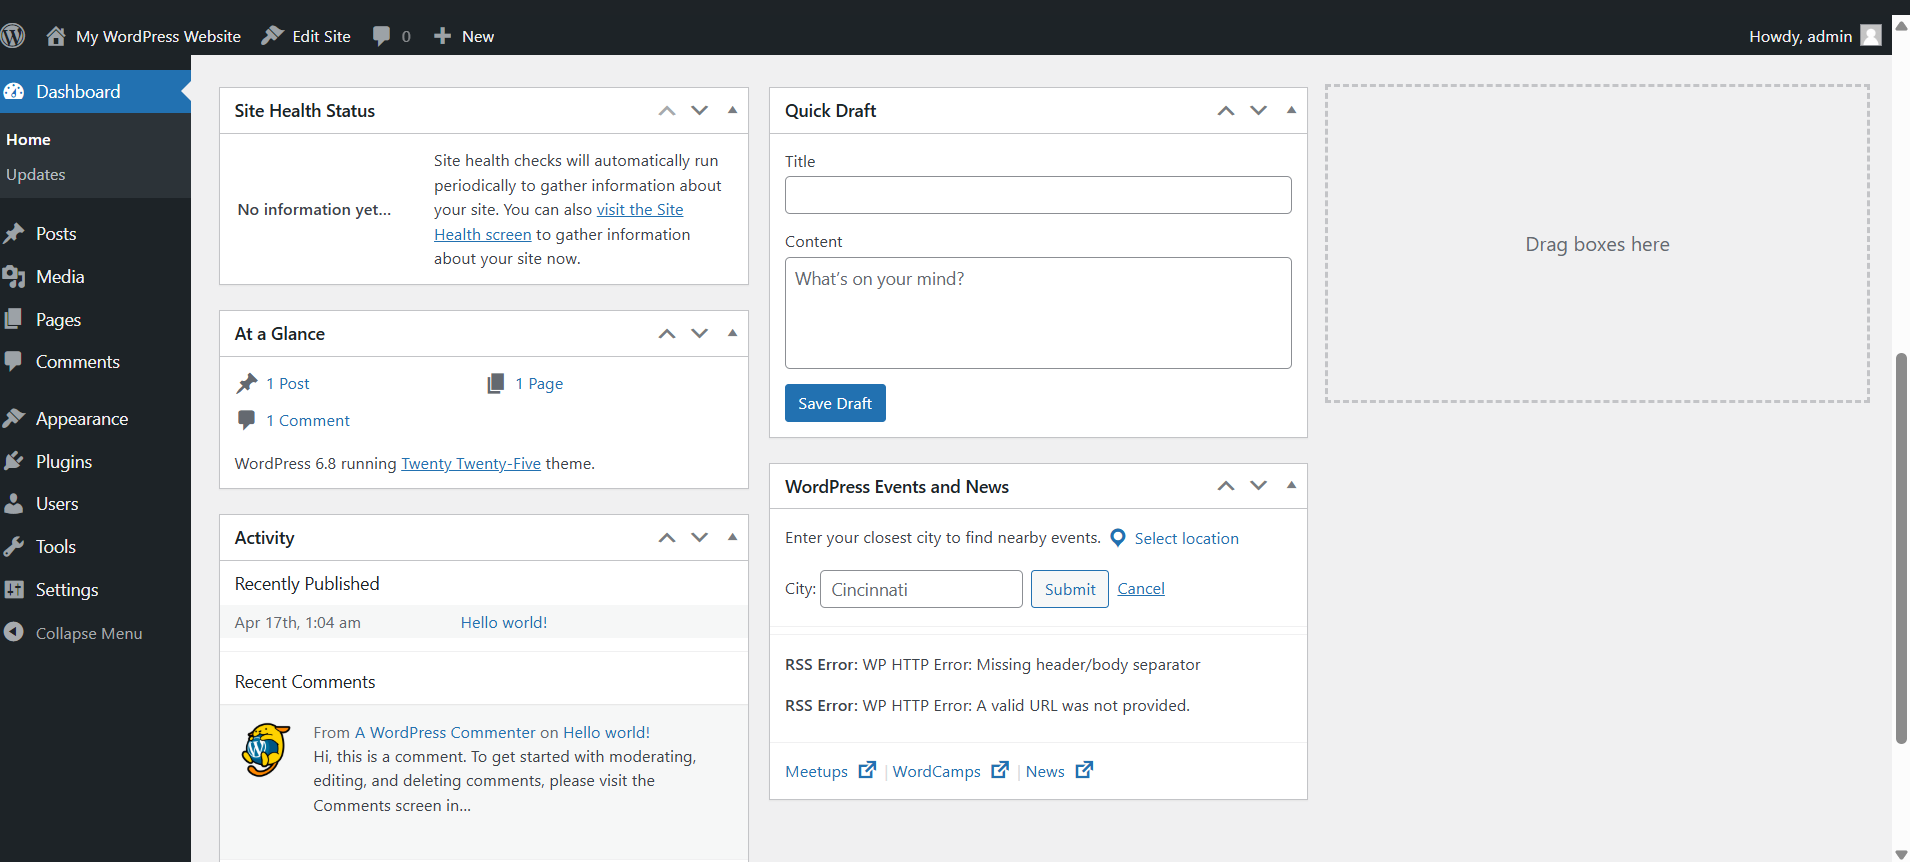
After installation, you can access your new website at yourdomain.com/wp-admin. This is where the magic happens, it’s your WordPress dashboard, the control room where you’ll design, write, and publish your personal website. Bookmark this URL, you’ll visit it often.
Step 3: Select and Install a WordPress Theme
Themes define your website’s look and structure. Whether you’re building a personal blog, portfolio, or service website, there’s a theme tailored for it. WordPress offers thousands of themes, from minimalistic designs to bold, image-heavy layouts.
To explore themes, go to Appearance > Themes > Add New. You can search by features, industry, or popularity. Consider mobile responsiveness, user reviews, update frequency, and customization options before choosing.

If you’re building a personal brand, themes like Astra, Kadence, or Neve are great because they load fast, are highly customizable, and play well with page builders like Gutenberg. Once you find one you like, click Install > Activate, and your new design is live.
Step 4: Customize Your Website’s Appearance
Customization lets you breathe personality into your website. Head to Appearance > Customize, and you’ll be able to tweak nearly everything—your logo, colors, fonts, headers, and footers.
Start by uploading your logo and setting your site title and tagline. If you don’t have a logo, tools like Canva or Looka can help you create one in minutes. Choose brand colors that resonate with your identity, consistency here creates trust and recognition.
Explore other customization options such as layout settings boxed vs. full-width, homepage sections, and footer widgets. Don’t forget to optimize for mobile devices, a large chunk of your visitors will come through phones or tablets.
Step 5: Create Essential Pages
Your website should clearly communicate who you are, what you do, and how people can connect with you. Start with these essential pages:
- Home Page- This is your digital front door. Include a headline that tells people exactly what you offer, a short bio, a call-to-action, and links to key pages.
- About Page- Tell your story here. What do you do, what’s your mission, and what makes you different? Keep it professional but personable.
- Portfolio or Services Page- Showcase your best work or describe the services you provide. Include testimonials or case studies if available.
- Contact Page- Include a contact form using a plugin like WPForms, email address, and social media links. Consider embedding a Google Map if you offer local services.
To create each page, go to Pages > Add New, then use the Gutenberg block editor to add headings, text, images, buttons, and more. Save and publish each one when ready.
Step 6: Set Up Navigation Menus
Now that you have key pages ready, it’s time to make them accessible. Navigation menus are crucial for usability—they guide your visitors and help them find what they need quickly.
Go to Appearance > Menus, click Create a New Menu, and give it a name like “Main Menu”. Add your most important pages, typically Home, About, Services, and Contact, and arrange them in a logical order.
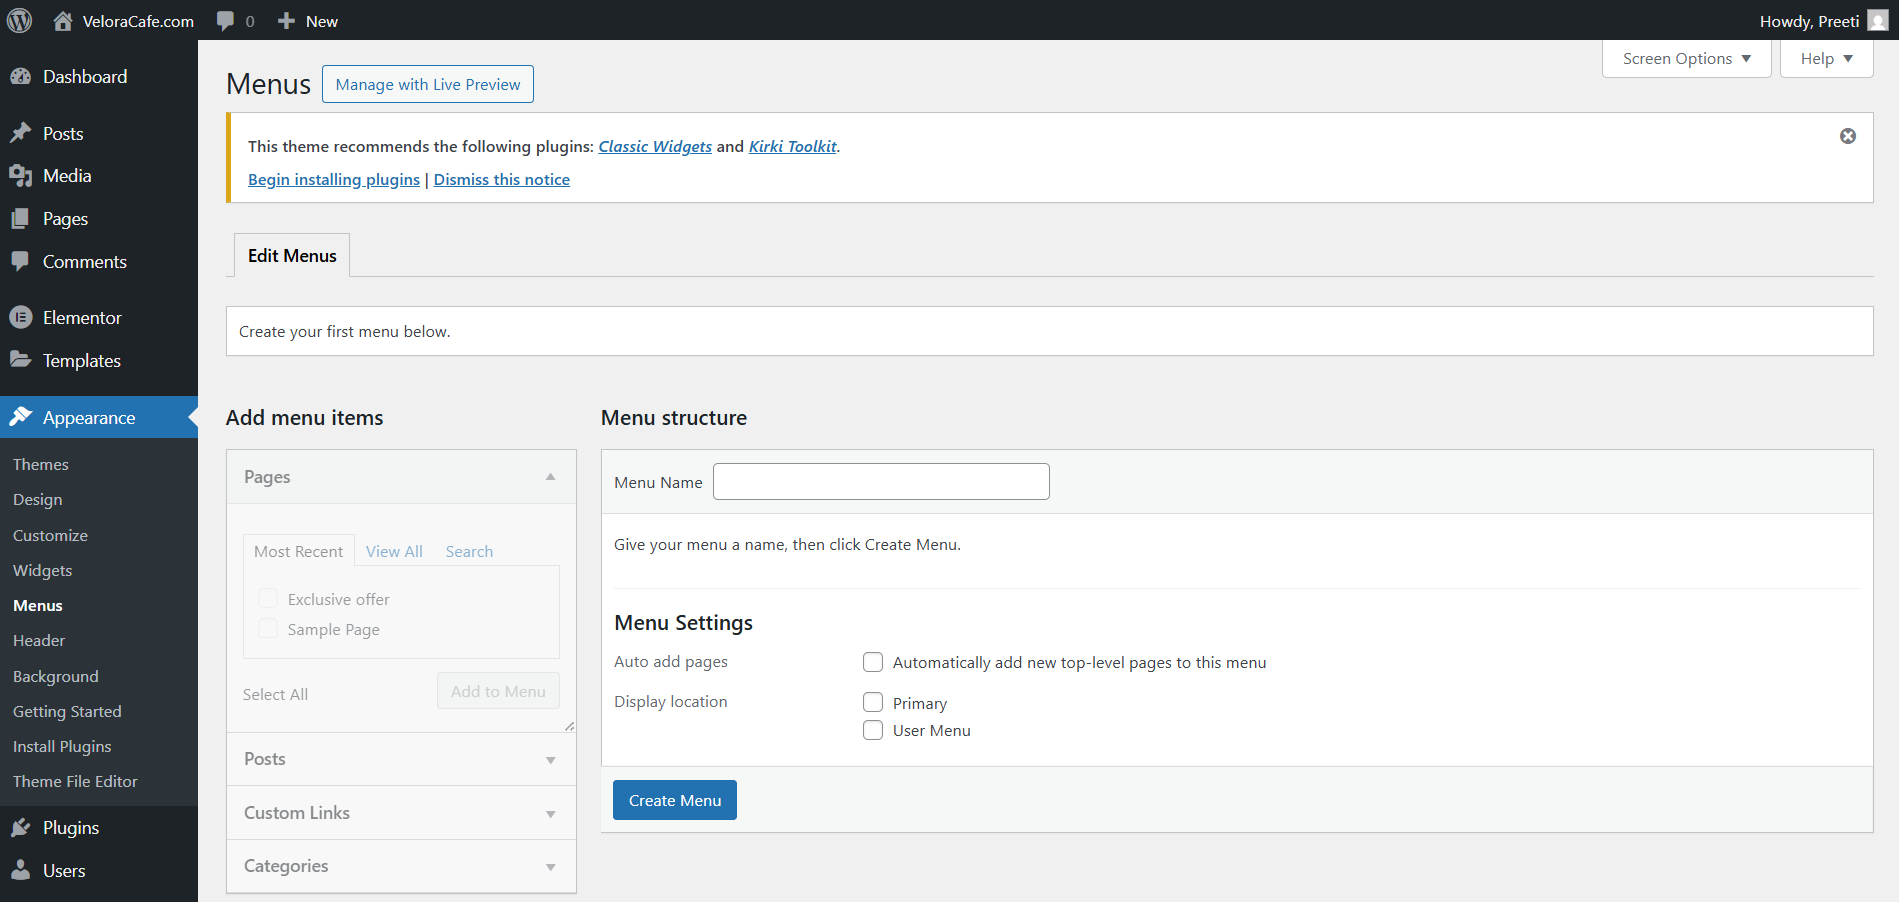
Assign this menu to a theme location, usually labeled as “Primary Menu” or “Header Menu.” Some themes allow you to create multiple menus for different areas, like the footer or sidebar.
Well-structured navigation not only improves user experience but also helps search engines understand your site’s structure.
Step 7: Install Essential Plugins
Plugins are powerful add-ons that bring new features to your site, think of them as apps for your website. While WordPress is great out of the box, plugins allow you to go further without coding.
Here are some must-have plugins for a personal website:
- Yoast SEO – This plugin helps you write content that performs better in search engines. It offers real-time SEO suggestions, readability analysis, and snippet previews to help ensure your posts are optimized before publishing.
- WPForms – Whether it’s a contact form, newsletter signup, or client feedback form, WPForms makes it easy to create any kind of form using a drag-and-drop builder. It also integrates with email marketing tools like Mailchimp.
- UpdraftPlus – Backups are essential, especially if you’re managing your site solo. UpdraftPlus lets you schedule automatic backups and save them to cloud services like Google Drive, Dropbox, or Amazon S3.
- Jetpack – A powerful all-in-one plugin for performance, security, and analytics. It helps protect your site from brute force attacks, monitors downtime, and gives you basic traffic insights all in one dashboard.
- Smush – Images can slow down your site if not optimized. Smush compresses and resizes images automatically without reducing quality, keeping your site fast and efficient.
To install a plugin, go to Plugins > Add New, search for the plugin name, click Install Now, and then Activate.
Use plugins wisely, install only what you need to keep your site fast and secure.
Step 8: Configure Your Site Settings
A few back-end settings make a big difference. Start with Settings > General, where you can set your site title, tagline, email address, and time zone.
Next, under Settings > Reading, you can choose whether to display your latest blog posts on the homepage or use a custom static page (ideal for personal brand sites). If you’ve built a custom Home and About page, select those here.
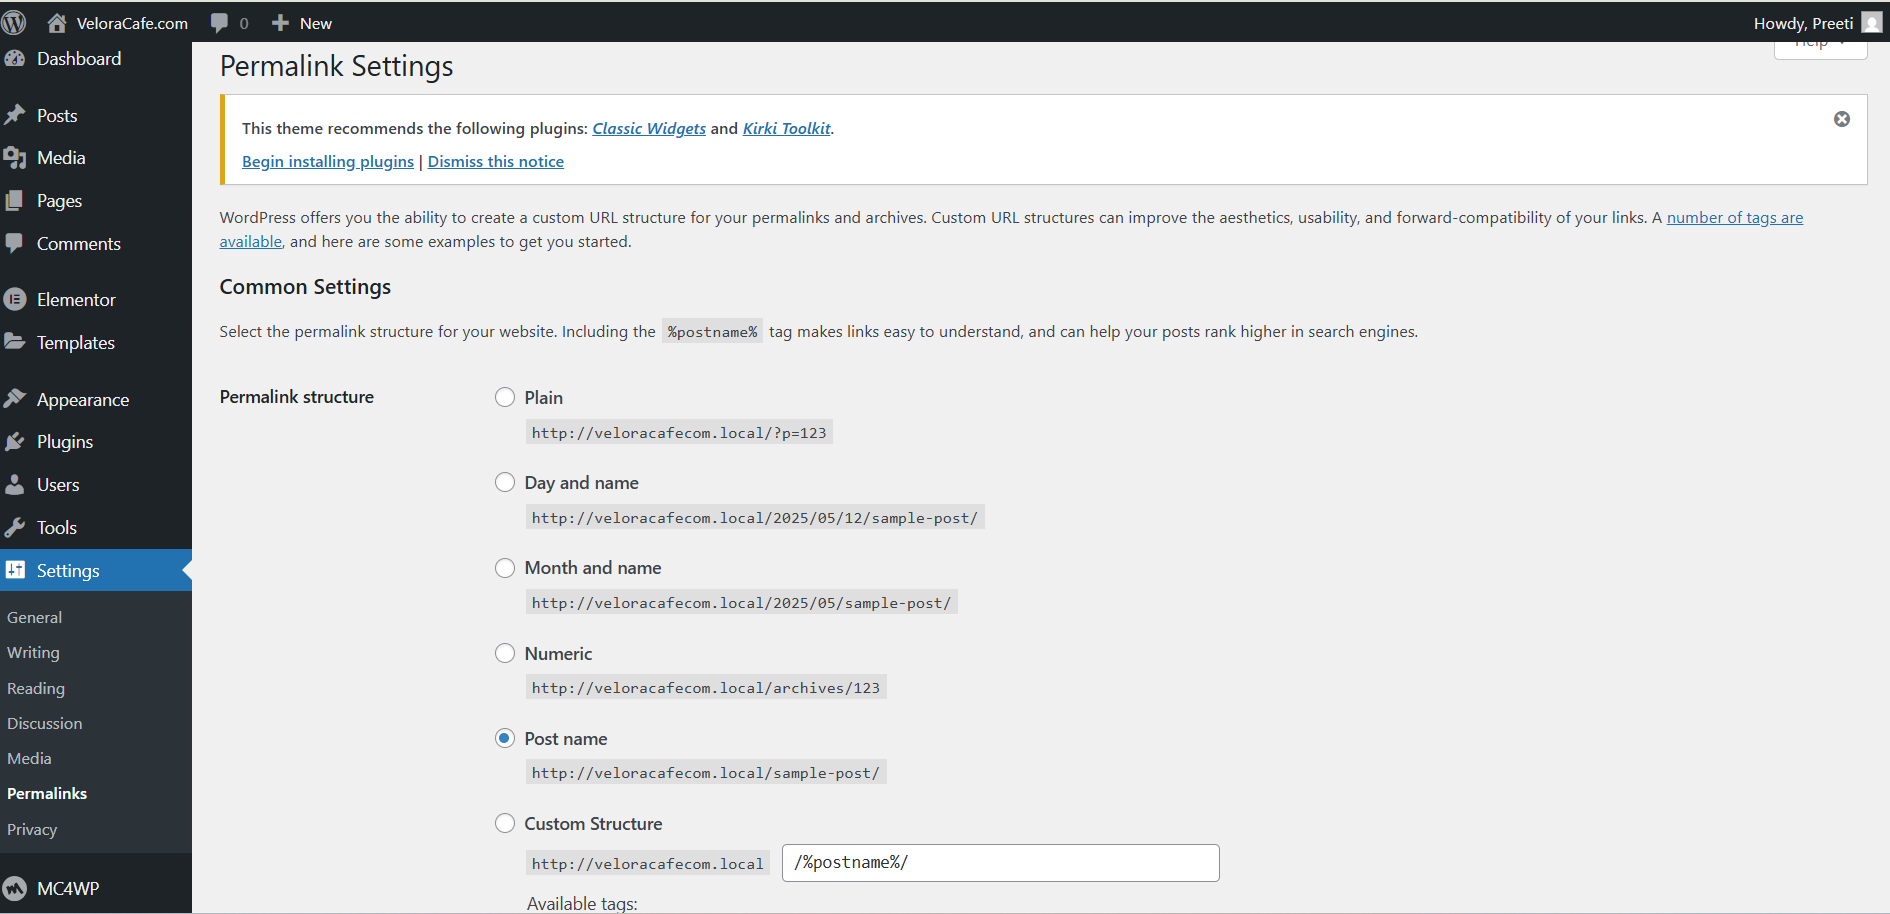
In Settings > Permalinks, change your URL structure to Post Name, it’s cleaner and better for SEO. A URL like yourdomain.com/about is much better than yourdomain.com/?p=123.
Also, check Settings > Discussion if you’re blogging and want to enable or disable comments.
Step 9: Launch Your Website
You’re almost there! Before you officially launch, preview every page to ensure it looks polished and error-free. Check your links, forms, mobile responsiveness, and spelling.
If you used a “Coming Soon” plugin during setup, it’s time to deactivate it. Then share your website link with your network, on social media, email signatures, business cards, or LinkedIn.
Finally, submit your site to Google Search Console so it can be indexed. You might also want to install Google Analytics to track traffic and visitor behavior from day one.
Launching is a huge milestone, but your website should keep evolving. Update it regularly, post fresh content, and stay on top of plugin/theme updates to ensure performance and security.
Final Thoughts
Building a personal brand website doesn’t have to be overwhelming or expensive. With WordPress Gutenberg, you have all the tools you need to design a site that not only looks great, but truly reflects who you are and what you offer. Remember your website is more than just a digital resume. It’s your voice, your story, and your opportunity to make a memorable impression, 24/7. Start simple, Be authentic, Keep refining, And most importantly, enjoy the creative process of building a space that’s 100% yours.
Your personal brand deserves a professional home, and now, you know exactly how to build it.
Interesting Read
A Beginner’s Guide to WordPress Gutenberg Block Editor
How to Build Your Personal Brand Using WordPress
How to Create a Website With Gutenberg
create a website with Gutenberg Gutenberg for small business personal brand website WordPress WordPress personal branding WordPress website design for personal brand
Last modified: February 11, 2026