Everyone has a story to tell, and there’s no better way to share yours than through a blog. With the power of blogging with WordPress Gutenberg, creating your own space online is easier than you might think.
This guide will walk you through every step, making the whole process smooth and simple.
Why Choose WordPress and Gutenberg for Blogging?
WordPress powers over 40% of all websites worldwide and for good reason. It’s flexible, beginner-friendly, and completely free to use.
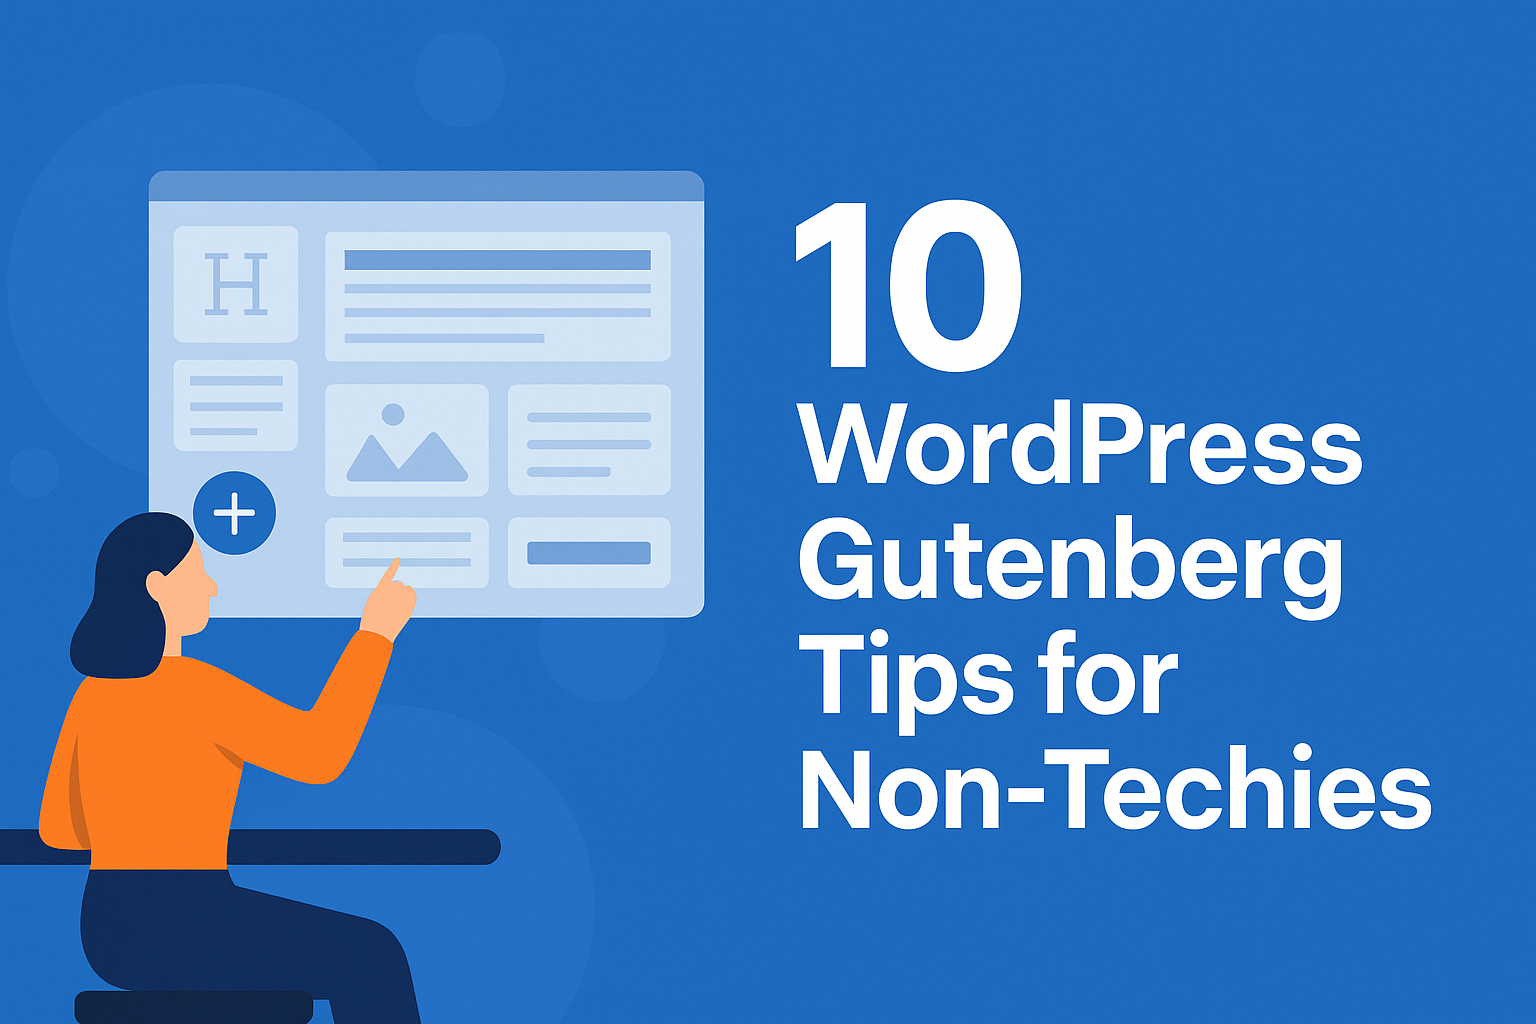
Gutenberg is the modern default editor for WordPress. Instead of typing into one big text box (like in the old Classic Editor), Gutenberg lets you build your posts block by block. Each element whether it’s a paragraph, heading, image, button, or list is added as a block. This block system makes content creation more visual, organized, and flexible. Think of Gutenberg like building a wall with LEGO blocks, you stack and arrange pieces exactly how you want your post to look.
So basically, WordPress provides a flexible and beginner-friendly platform that makes blogging easy for anyone, even without technical skills. Along with it, the Gutenberg editor simplifies the process of designing and formatting your posts, allowing you to create beautiful layouts effortlessly using a block-based system.
Starting Your Blogging Journey with Gutenberg: Step-by-Step
Before diving into creating blog posts, it’s important to set up your blog properly. Below, you’ll find a straightforward breakdown of the steps that will take you from choosing a domain name to writing and publishing your first blog post. By the end, you’ll be ready to share your thoughts with the world!
1. Register a Domain Name
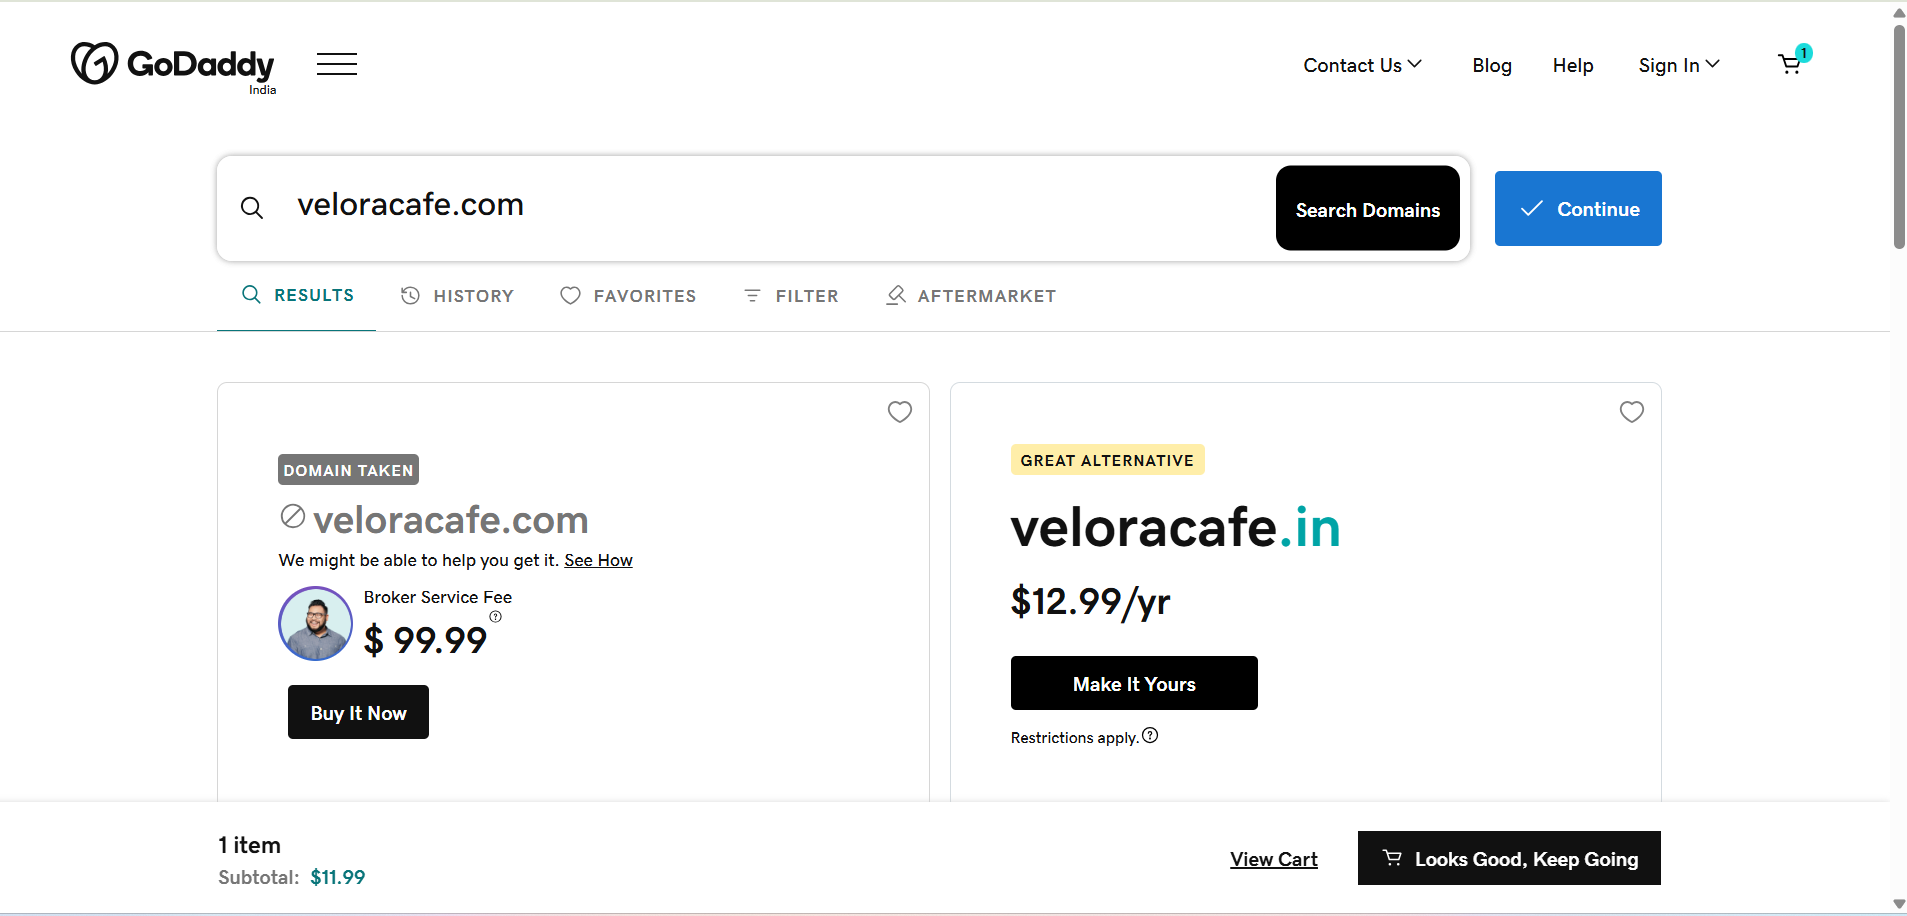
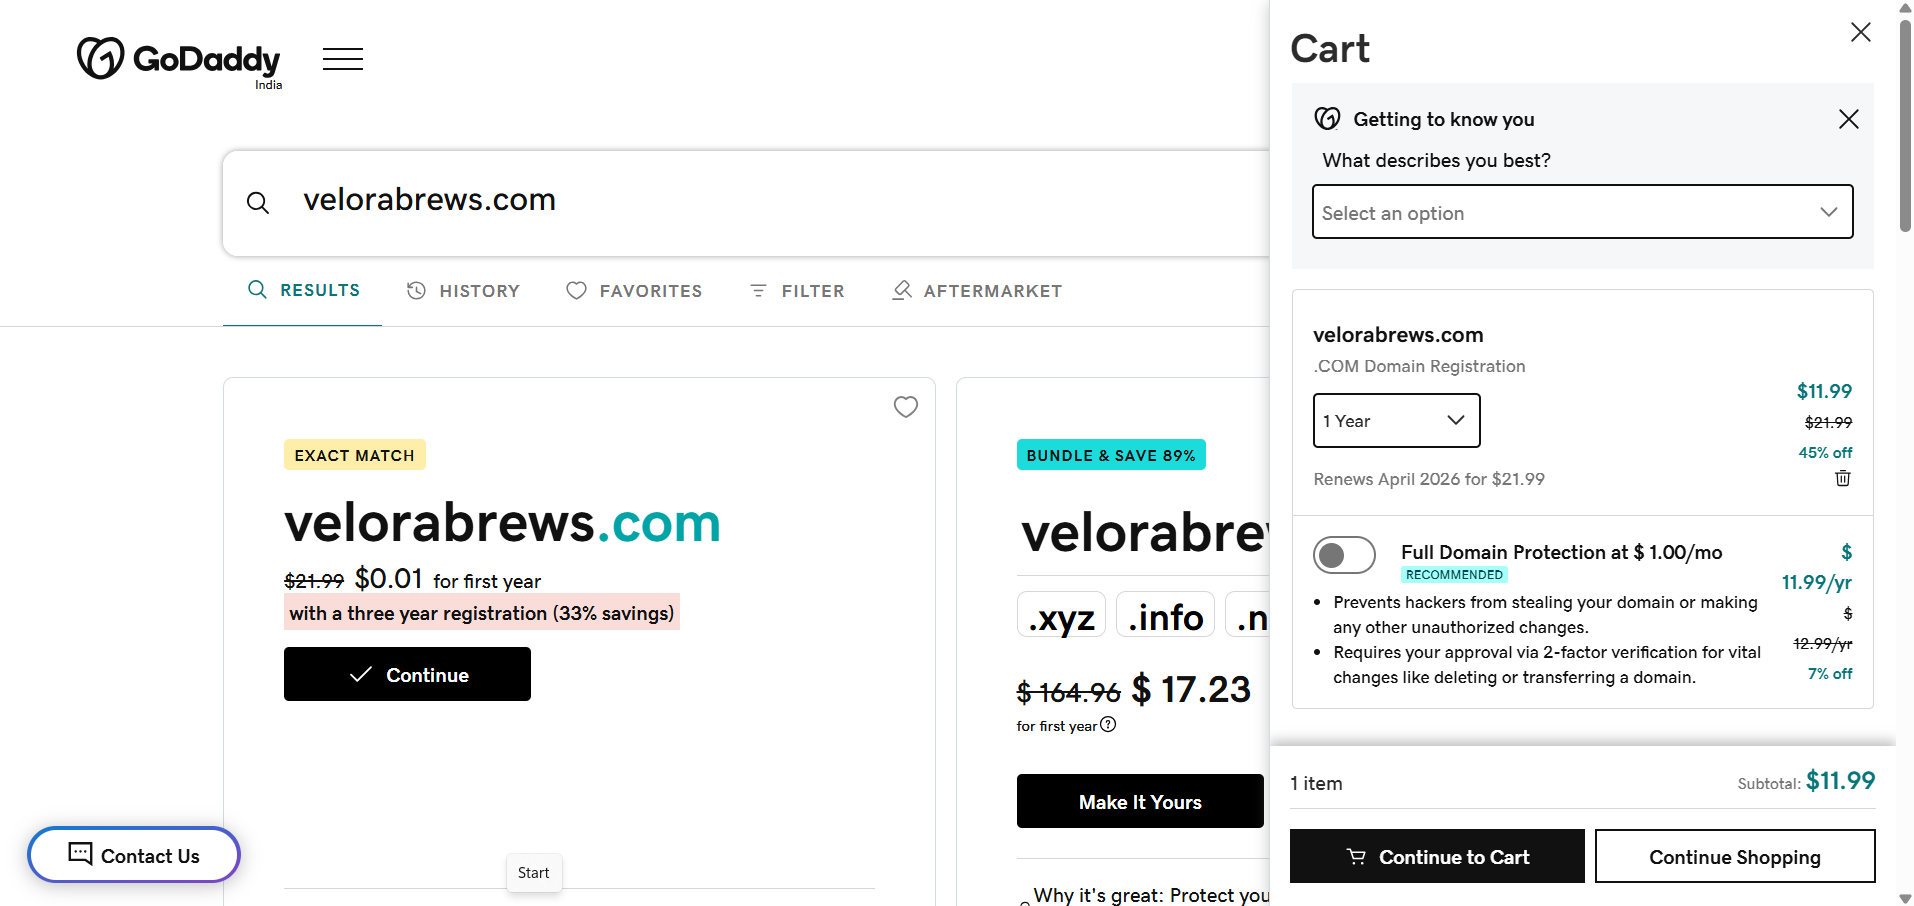
The first thing you’ll need to do is choose a domain name for your blog. Your domain name is like your blog’s home address on the internet (e.g., www.veloracafe.com). It’s the first thing people will see when they visit your site, so a good domain name should reflect the content of your blog or your personal brand. It should be easy to remember, type, and pronounce. Here are some tips to help you choose the perfect domain name:
- Keep it Short and Simple- A short domain name is easy to remember and less prone to typing errors.
- Use Keywords- Try to include keywords related to your blog topic (for example, if you’re starting a blog for your coffee cafe, use words like “VeloraBrews” or “SipVelora”).
- Avoid Hyphens and Numbers- These can be confusing and make your domain harder to recall.
- Check Availability- Make sure your domain name isn’t already taken by someone else. You can check domain availability on hosting provider websites.
How to Register:
- Go to a domain registrar like GoDaddy, Namecheap, or your hosting provider (many offer free domains with hosting packages).
- Search for your desired domain name.
- Once you find one that’s available, follow the steps to register and purchase it. Most domains are priced between $10-$20 per year.
2. Selecting a Hosting Provider
After securing a domain name, you need a hosting provider to make your blog accessible online. Web hosting is where your blog’s files (images, content, themes, etc.) are stored.
How to Choose the Right Hosting Provider
- Beginner-Friendly Hosting- If you’re new to blogging, choose a hosting provider that offers one-click WordPress installation, good customer support, and easy management options.
- Reliability and Speed- Look for a provider with strong uptime and fast load speeds. Fast-loading websites are important for user experience and SEO.
- Support for WordPress- Make sure the hosting provider offers WordPress compatibility. Some providers even have specialized WordPress hosting for better performance.
- Scalability- Choose a provider that allows easy upgrades to more powerful hosting as your blog grows.
Popular Hosting Providers
- Bluehost- A well-known provider with one-click WordPress installation and excellent customer support. Great for beginners.
- SiteGround- Known for excellent speed and uptime, plus great WordPress hosting features.
- Hostinger- Offers affordable plans with great customer support and fast performance.
How to Get Started
- Choose a Plan- Hosting providers usually offer several plans, including shared hosting (cheapest), VPS, and dedicated hosting (more advanced and expensive). For beginners, shared hosting is usually sufficient.
- Sign Up- Create an account with your chosen hosting provider and choose a plan. During the sign-up process, you’ll typically have the option to register a domain name as well.
- Install WordPress- Many hosting providers offer one-click WordPress installation. After signing up and logging into your hosting account, follow the instructions to install WordPress.
3. Install WordPress
Now that you’ve got your domain and hosting sorted, it’s time to install WordPress. The software that powers your blog. WordPress is open-source and completely free to use. Installing it is simple and usually takes only a few minutes.
How to Install WordPress
- Log into your hosting dashboard- Use the login details provided by your hosting provider to access your hosting control panel (often called cPanel).
- Find the One-Click Install Option- Look for an option like “Install WordPress” or something similar in your control panel.
- Follow the On-Screen Instructions- The installation process is mostly automatic. Just follow the prompts, and WordPress will be installed within minutes.
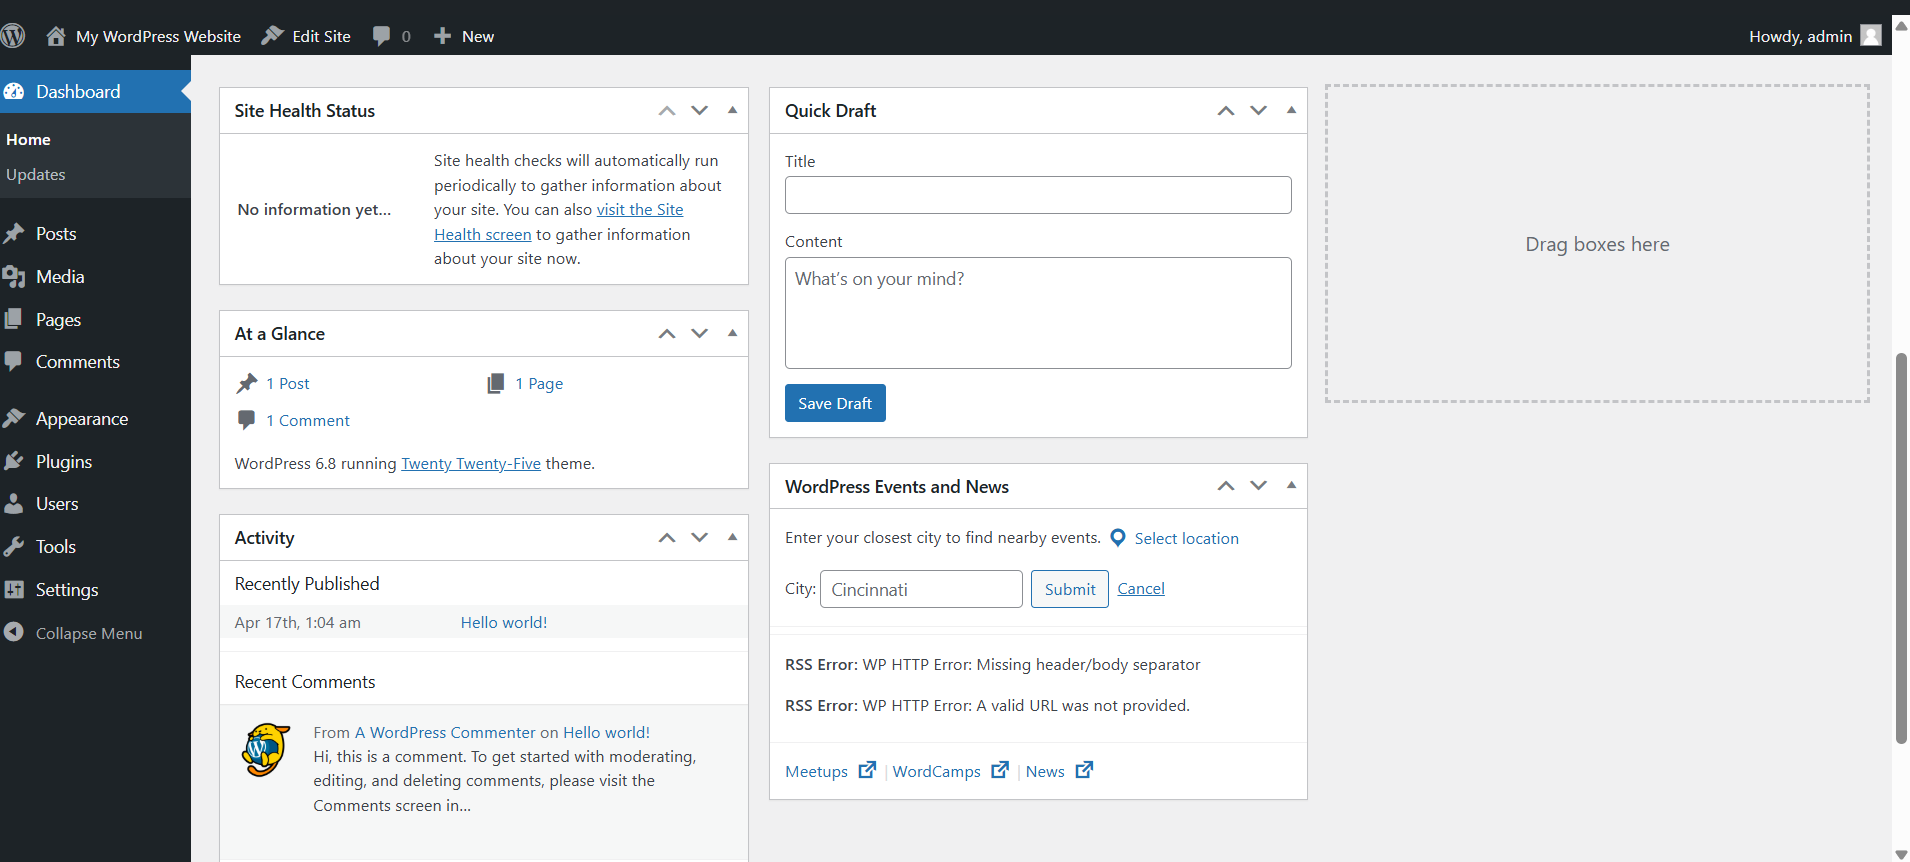
- Explore the WordPress Dashboard- Once WordPress is installed, you’ll be directed to the WordPress Dashboard, the heart of your blog. This is where you’ll manage everything, from creating blog posts to customizing your blog’s design.
4. Understand the Gutenberg Editor
Once you’re in your WordPress dashboard, head to Posts → Add New.
You’ll be greeted by the Gutenberg editor, which is your new workspace for writing blog posts. This block-based editor makes it super easy to add different types of content to your posts, all without needing any coding knowledge. Here’s a quick tour of the main blocks you’ll be using:
Title Block
The Title Block is where you enter the title of your blog post. It’s essential to make this catchy and relevant to the content, as it’s the first thing visitors will see.
Paragraph Block
This is the most commonly used block where you’ll write your main content. Simply click into the Paragraph Block and start typing away. You can format your text, like making it bold, italic, or adding hyperlinks.
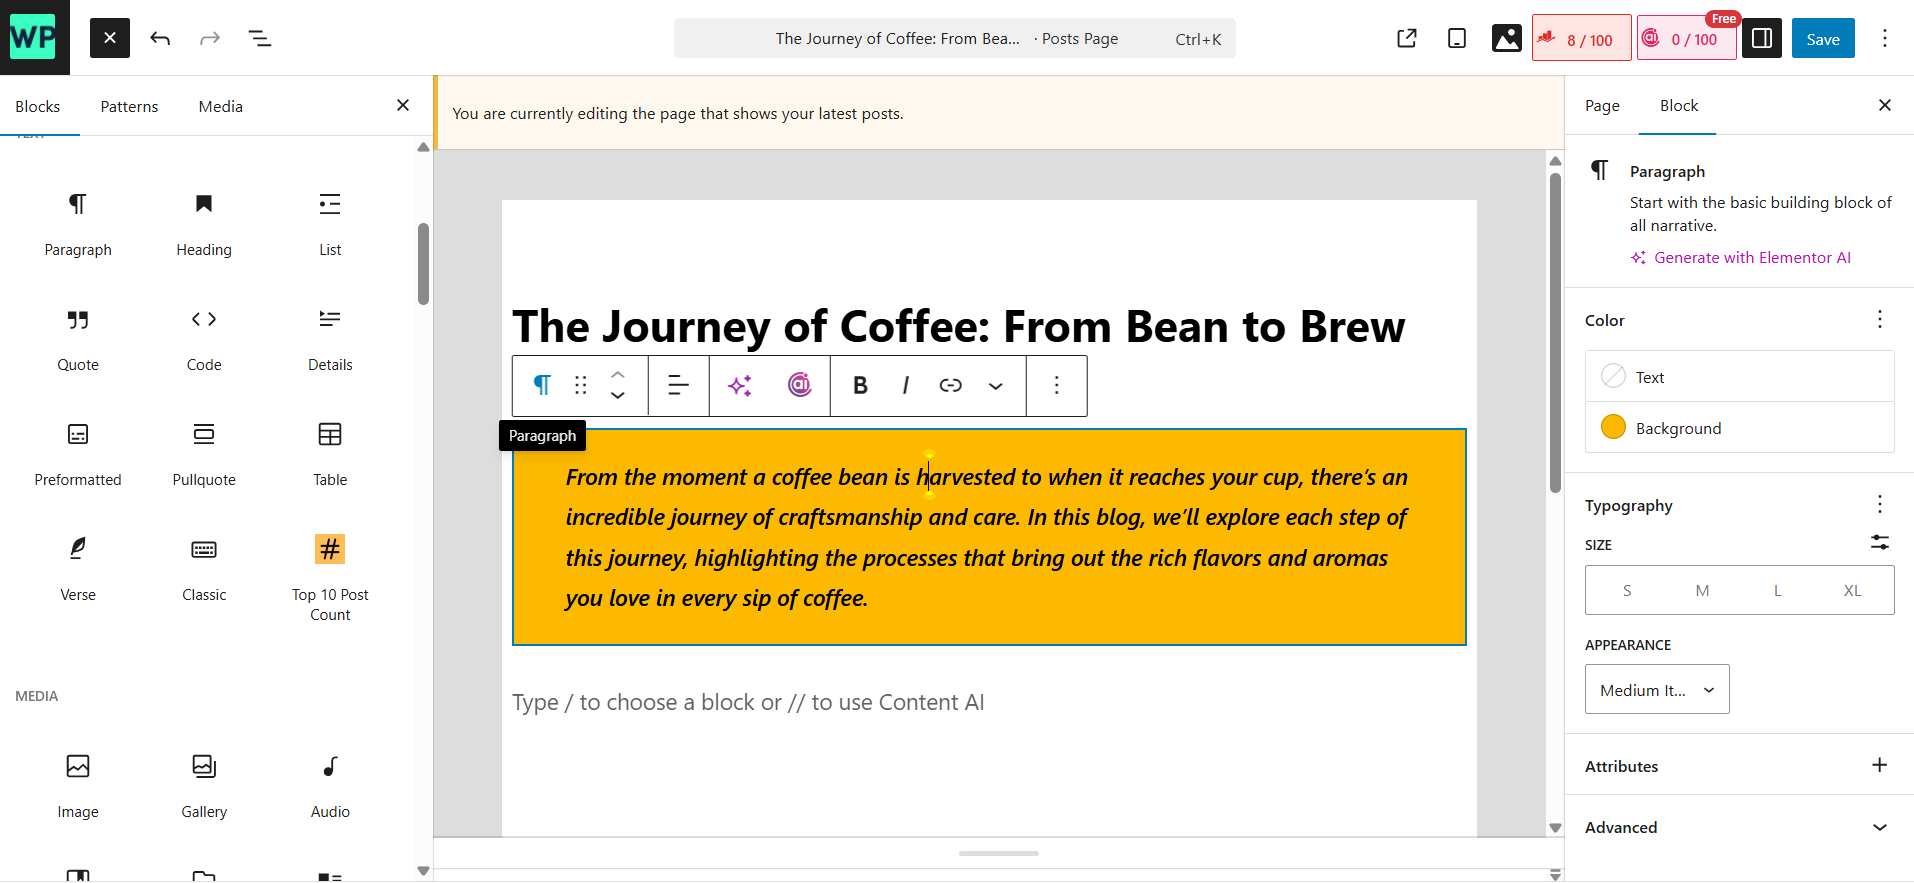
Image Block
The Image Block allows you to insert images to make your posts visually appealing. To add an image, click the block, then upload an image file from your computer or choose from your media library. You can adjust the image size, add alt text for accessibility, and even link the image to other pages or posts.
Heading Block
Use the Heading Block to organize your content with headings. Headings (H1, H2, H3) are essential for SEO and user experience. They help structure the post and make it easier for readers to scan the content. H1 is usually reserved for the post title, while H2 and H3 are used for subheadings within the content. This makes your blog more readable and helps search engines understand your content better.
List Block
If you’re presenting information in a list format, the List Block is perfect. You can create either bullet point lists or numbered lists. Lists make your content easier to digest, especially when you have steps, tips, or key points to share. They help readers quickly find important information without having to read through large chunks of text.
Embed Block
The Embed Block allows you to insert external content like YouTube videos, Tweets, Instagram posts, or other media from social platforms and websites.
You build your post by adding different blocks, one after another like stacking building blocks!
5. Choose a Theme That Matches Your Style
Your blog’s theme controls how your content is displayed. The layout, colors, fonts, and overall design. Choosing the right theme is important, especially when you’re just starting out, because it sets the tone for your reader’s experience.
One excellent option to consider right away is the BuddyX theme. It’s a free, modern, and Gutenberg-ready theme designed specifically for building community-driven websites. If you ever plan to add features like user profiles, groups, or activity feeds using BuddyPress or BuddyBoss, BuddyX will be your best friend. It’s fast, fully responsive, and beautifully integrates with popular plugins making it a future-proof choice.
Other excellent free themes to consider include Astra, known for its fast performance and flexibility, Neve, a minimalist theme with great customization options, GeneratePress, which offers a lightweight and speed-optimized design, and Blocksy, which is highly customizable and perfect for Gutenberg.
Pro Tip: Don’t stress about customization right away; you can always tweak your theme later.
Suggested Reading
How to use the BuddyX theme to create a blogging website
6. Customizing Blog Settings
With your theme in place, it’s time to fine-tune the settings that shape how your blog functions and how it’s perceived by visitors and search engines. Customizing your blog settings not only improves usability but also helps establish your brand from the very beginning. Here’s what to set up:
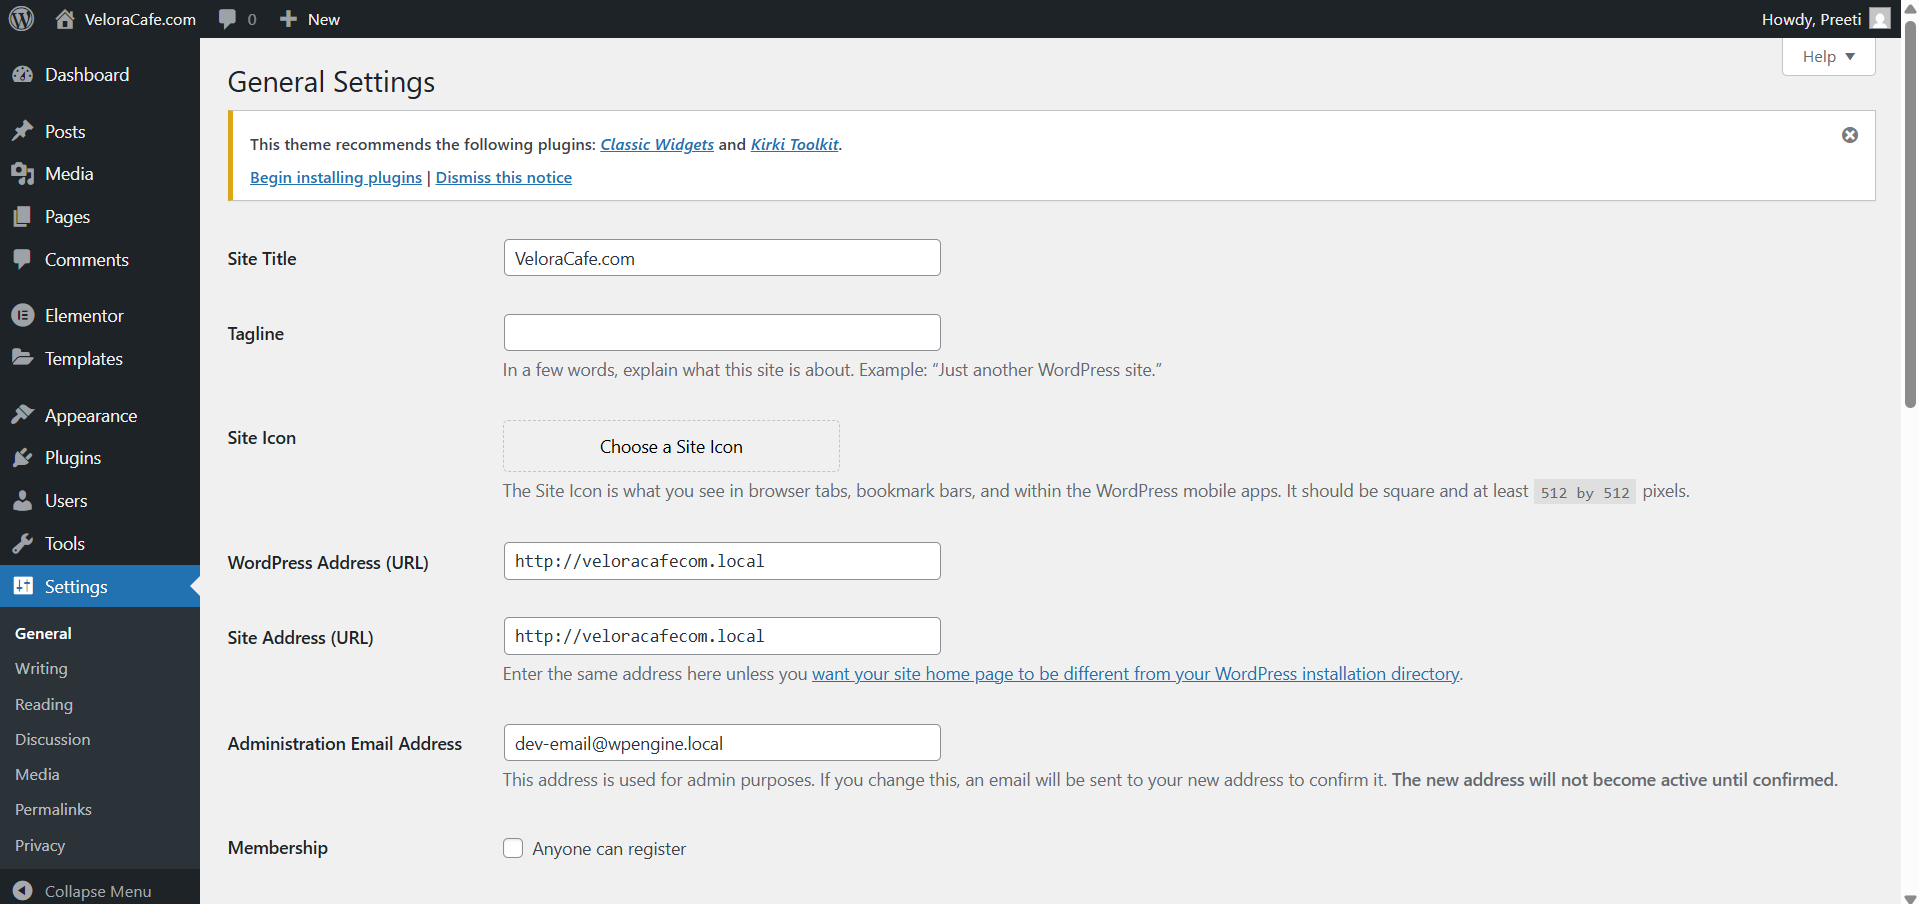
Site Title and Tagline
Go to Settings → General in your WordPress dashboard. Set a site title that clearly reflects your blog’s name or topic, and add a tagline that briefly describes what your blog is about. These show up in browser tabs and can play a role in SEO, so keep them clear and relevant.
Time zone
Set your local time zone by navigating to Settings → General. This ensures that any scheduled posts go live at the correct time based on your location, especially helpful if you’re planning content in advance.
Date and Time Format
Still under Settings → General, choose how you want dates and times to appear on your blog. A clear and consistent format improves readability and gives your blog a more polished, professional feel.
Permalinks
Go to Settings → Permalinks and select the “Post name” option. This creates clean, easy-to-read URLs that are better for both your readers and SEO.
Taking a few minutes to customize these settings ensures your blog starts off on the right foot, both technically and visually.
7. Write and Publish Your First Blog Post
Now comes the exciting part, writing your very first blog post!
This is your moment to share your voice with the world. Whether you’re writing a personal story, sharing a how-to guide, or offering your thoughts on a trending topic, your first post sets the tone for your blogging journey.
How to Make Your First Post Shine
Start with a topic that genuinely excites you.
Your enthusiasm will naturally come through in your writing, and readers can sense that energy. Think about something useful, interesting, or meaningful to your audience. It could be a helpful tutorial, an opinion piece, or even an introduction to who you are and why you started the blog.
Write in short, clear paragraphs
Online readers prefer content that’s easy to scan. Break up long chunks of text and get to the point quickly. Add a conversational tone to make your post feel like you’re talking directly to the reader.
Use formatting tools to guide your reader
Make good use of Gutenberg blocks like:
- Headings – Use headings to break your content into clear, readable sections. They not only guide your readers through the post but also help with SEO by signaling the structure and hierarchy of your content. Stick to a logical order using H2, H3, and so on for sub-sections.
- Images or GIFs – Visuals like images, infographics, or GIFs bring life to your blog. They support your message, make the content more engaging, and improve readability by giving the eyes a break from blocks of text. Make sure they’re high-quality and relevant to your topic.
- Bullet points or numbered lists – Lists are perfect for summarizing tips, steps, or key takeaways. They make your content skimmable and easier to digest, especially for readers who prefer quick insights over reading full paragraphs.
- Quotes – Add quotes from experts, authors, or relevant sources to support your ideas or provide a new perspective. A well-placed quote adds credibility and can also spark reflection or inspiration for your audience.
Tell a story or include examples.
Real-life stories or practical examples make your blog post more relatable and memorable. If you’re writing a tips-based post, try starting with a personal experience that led you to learn what you’re sharing.
End with a strong call-to-action (CTA).
Don’t just end your post to guide your readers to the next step. Ask them to leave a comment, share your post, sign up for your newsletter, or check out another article on your blog. CTAs help build engagement and community.
8. Essential Plugins to Boost Your Blog
Think of plugins as the extra features that take your WordPress blog from basic to brilliant, kind of like adding apps to your phone. They help you expand what your blog can do, whether that’s improving SEO, speeding up your site, securing it, or making it easier for visitors to interact with you.
Before installing plugins, take a moment to decide what features your blog actually needs. Want better performance? Tighter security? Easier content sharing?
To make things easier, we’ve compiled a list of trustworthy plugins (in the next section) covering all the essential areas, from performance and protection to content optimization and user engagement.
Just remember, quality over quantity. Only install plugins you truly need, and make sure to keep them updated regularly. Running too many or outdated plugins can slow down your site or even cause conflicts with your theme or WordPress updates.
Stay intentional, stay updated and let plugins enhance your blog, not overload it.
Suggested Reading
Plugins for WordPress Bloggers
How to install the Buddypress Check-ins plugin?
9. Keep Improving Over Time
Blogging isn’t a one-time task, it’s an ongoing journey of growth, learning, and connection. The more you write, the better you get not just at blogging, but at understanding your audience and refining your voice. Here are a few simple ways to keep growing as a blogger:
-
- Write consistently – Whether it’s once a week or once a month, consistency builds trust and keeps your readers coming back. A predictable posting rhythm also helps you stay organized and committed to your blogging goals.
-
- Engage with your audience – Respond to comments, ask questions, and encourage feedback to build a loyal community. Genuine interaction not only fosters connection but can also spark new content ideas.
-
- Share your content – Use social media platforms, niche forums, and email newsletters to get your blog posts in front of more eyes. Don’t hesitate to repurpose content into reels, stories, or carousels for better reach.
-
- Level up your skills – Learn basic SEO, explore cleaner formatting, or dive into storytelling and content structuring techniques. The more you sharpen your blogging toolkit, the better your posts will resonate.
Remember your first post won’t be perfect, and that’s okay. Keep going, keep experimenting, your blog will evolve with you.
Conclusion
Start blogging with WordPress Gutenberg editor is not only easy, it’s empowering. With the right setup, a touch of creativity, and a bit of consistency, your blog can become a space that reflects your voice, shares your passions, and connects with people around the world.
Remember, every expert blogger was once a beginner. Focus on progress, not perfection. Keep learning, keep writing, and enjoy the journey as your blog grows into something uniquely yours.
Interesting Reads
WordPress Gutenberg Block Patterns
How to Start a WordPress Blog in 2025
I’m a digital marketer with a strong passion for blogging and storytelling. I love exploring the WordPress ecosystem and often write about it, sharing insights and experiences from my journey.
Blogging for Beginners Content Creation Gutenberg Editor Gutenberg Tutorial How to Blog WordPress Blogging
Last modified: May 1, 2025